Load Geometry
Getting Started
The Data Arena VM comes with all the software needed to display things in the Data Arena. For this tutorial, we will mostly interact with scripts inside the /local/examples/ folder, which contains the examples of this tutorial(s) and the custom handlers (in the pipelines folder).
So let’s get started and build our first immersive application!
Cube Tutorial
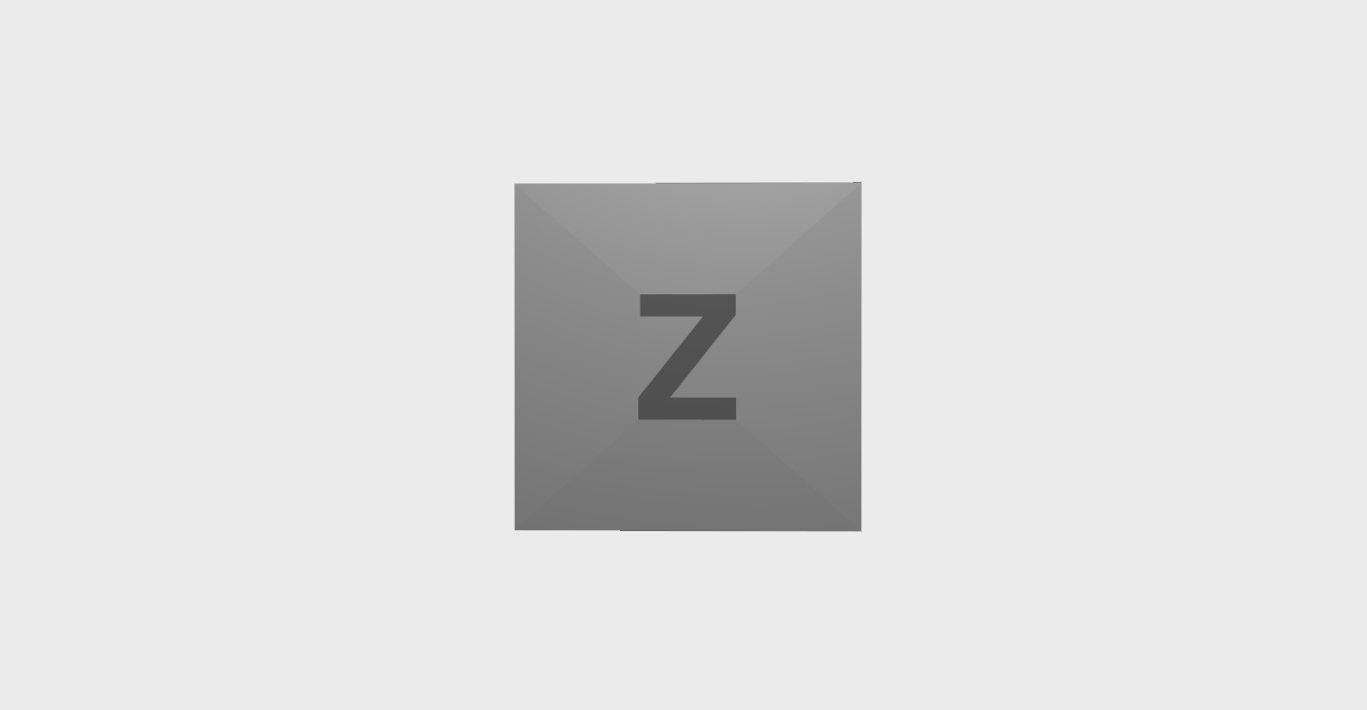
The hello world program of the graphics world is displaying a simple object, such as a cube. Before being able to display anything, you have to have a model of a cube first, of course. Creating and exporting models will be covered in the next tutorial, for now, take the box.obj model from the examples/box folder. Wavefront (.obj) models are a popular format for exchanging 3d models between different applications. They contain the definition of the geometry, colors, and many optional definitions. Fortunately, we don’t have to parse this model by ourselves but can use a model loader, which is part of the osg package. The “Geometry” class takes care of loading the model and adding it to the scenegraph (more on that later).
The following is a minimal working example:
import sys
sys.path.append('/local/examples')

from pipelines.objects import Geometry
from pipelines.handler import GeometryHandler

fileToLoad = "/local/examples/box/box.obj"

geo = Geometry(fileToLoad)

handler = GeometryHandler()
handler.initialCamPosition = [0, 0, 5]
handler.addGeo(geo)
The code above adds the examples folder to the system path, so the pipelines are importable. Then, by creating a Geometry object and giving it the path to the model, the box.obj model is loaded, added to the scene and its material is set. Have a look at objects.py to see what exactly is going on.
Then a GeometryHandler is instanced and the geometry is registered with the addGeo() method. This step ensures, that the camera is focused on the center of the model. Before adding geometry, set the initial camera position to have a higher z value, so the camera looks from above onto the object and is not too close.


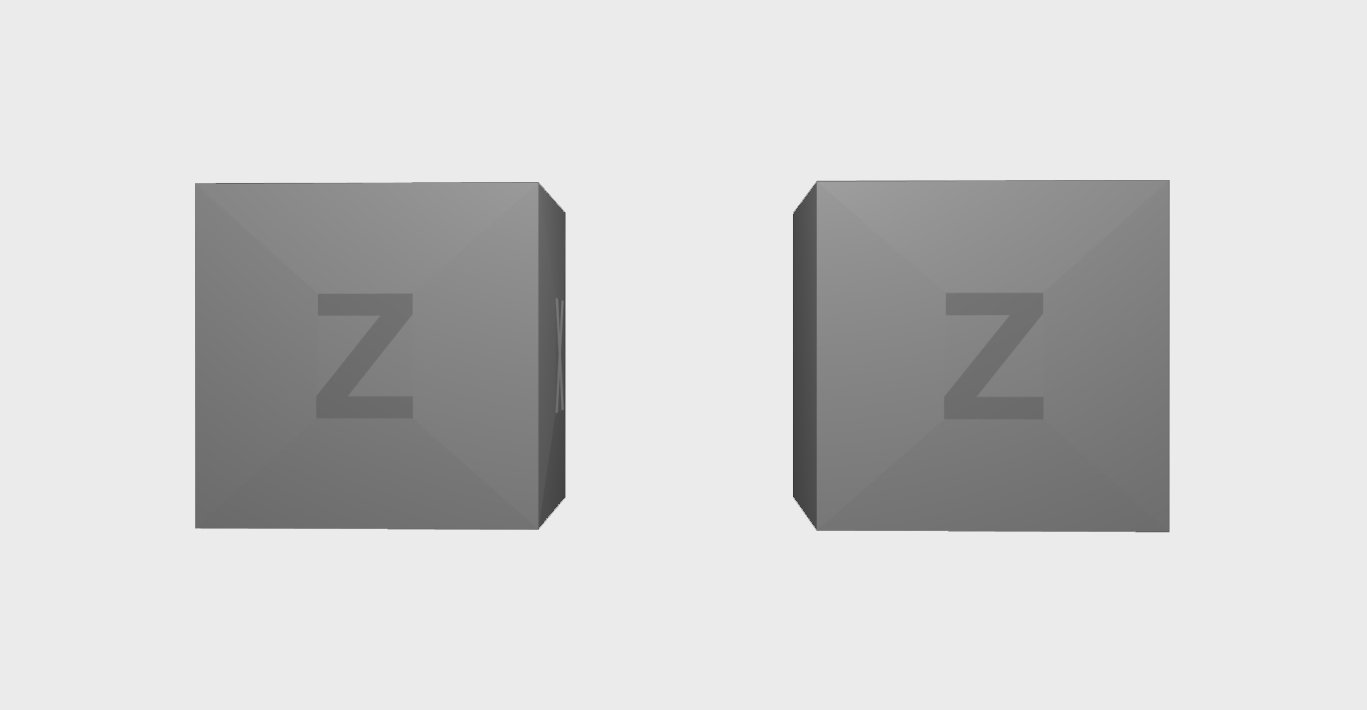
To add another box to the scene, you can load the box in a new Geometry, set its initial position to a different position and register it to the GeometryHandler. Also set the initial camera position to the middle of both cubes.
#update the initial camera position
handler.initialCamPosition = [1, 0, 5]
#add new box
geo2 = Geometry(fileToLoad)
geo2.initialPosition = [2,0,0]
handler.addGeo(geo2)


Now both boxes are displayed, but we can’t interact with them yet. The GeometryHandler class contains configurable interaction handlers, which let you control the model using different input devices (mouse, PS4 controller, space navigator etc). To use the event handlers, they have to be registered in Omegalib.
setEventFunction(handler.onEvent)
setUpdateFunction(handler.onUpdate)
The setEventFunction passes through all input events to the handler’s onEvent function, the setUpdateFunction registers a script function to be called before each frame is rendered.
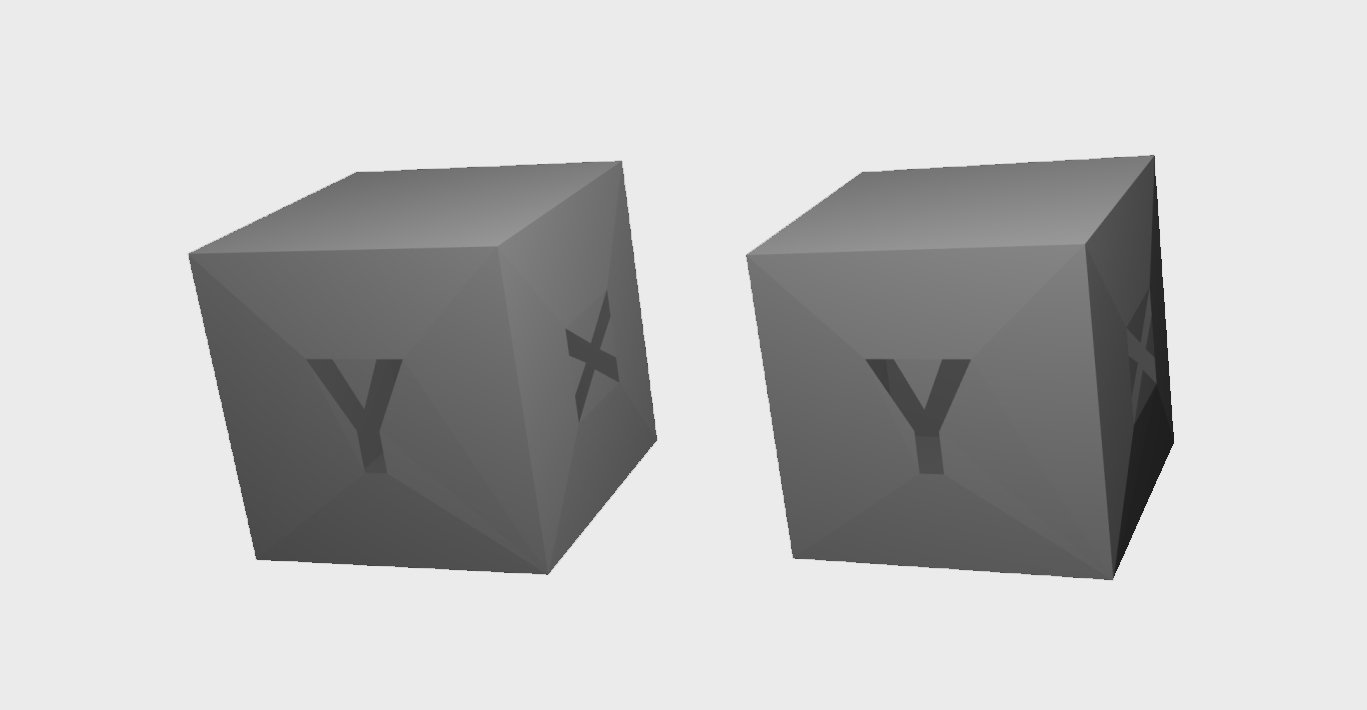
Now the boxes can be rotated in the scene. The interaction handler provides several ways to constrain the movement of the camera and of the object, which is displayed in the console. When pressing m, the mode can be toggled between object mode to camera mode. You can use object mode to rotate and translate the object and camera mode to orient yourself in the space in a first person way.


In the next section, you will learn how to apply simple materials to objects.