Getting Started with Nuke
Nuke can be a little intimidating at first glance. The software is node driven and can seem off putting if you're not used to this setup. Getting started is relatively painless though. I looked up a beginners tutorial on Lynda.com and followed until I was comfortable moving around the Nuke interface.
Getting Started with CaraVR
CaraVR is a Nuke plugin that we use to stitch together our videos from our multi-camera rigs. CaraVR's website has some great easy to follow tutorials that I recommend for getting your stitching started.
When you're ready to stitch your footage, you'll want to make sure its organised. We typically work with 12-16 cameras which means 12-16 individual videos. Sorting these into easy to understand folders will save you time in the long run, and make the project easier to return to if you have to take a break from it for whatever reason. Most importantly, make sure you know which shots belong to the left eye and which belong to the right if working with stereoscopic.
General stitching process
The holy trinity of CaraVR nodes you'll want are C_CameraSolver, C_Stitcher and C_SphericalTransform. Of course all nodes have their uses but these are the three I find myself pulling out when I first begin a stitch. I usually get keyframes to around 300 then adjust the horizon to make the cameras form the correct shape with Alt+Control+Click. I've found ensuring the ground lines up as it's meant to before you begin your Solve will ease the process further in.
Our 360 cameras
12 Camera Rig
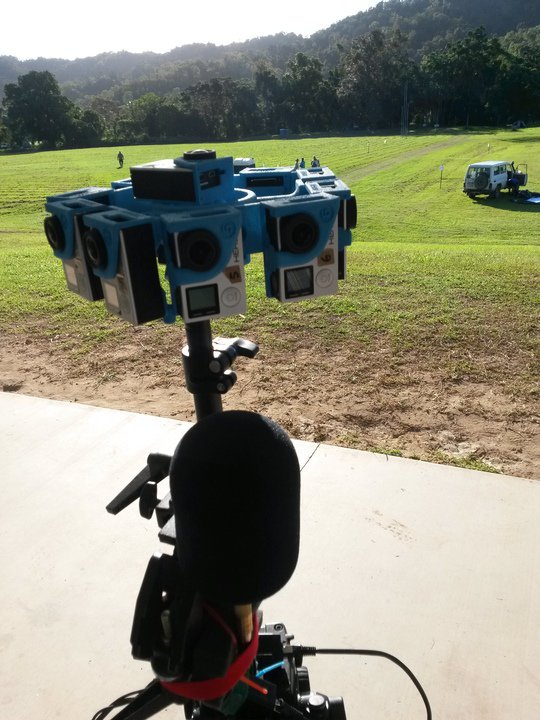

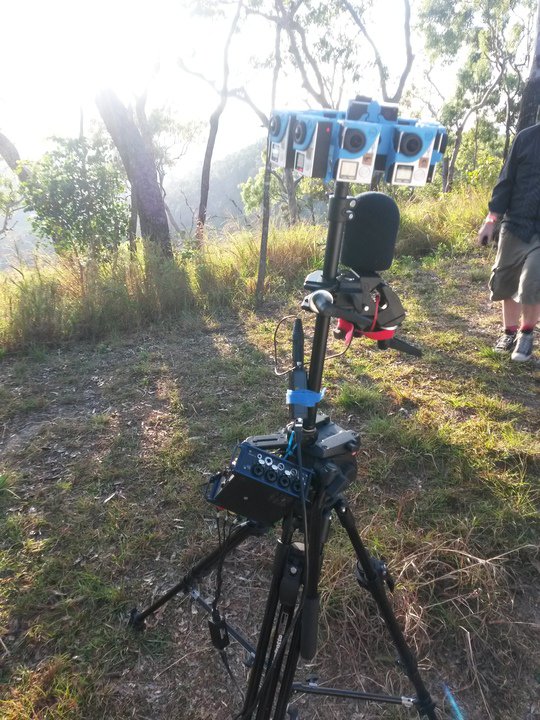

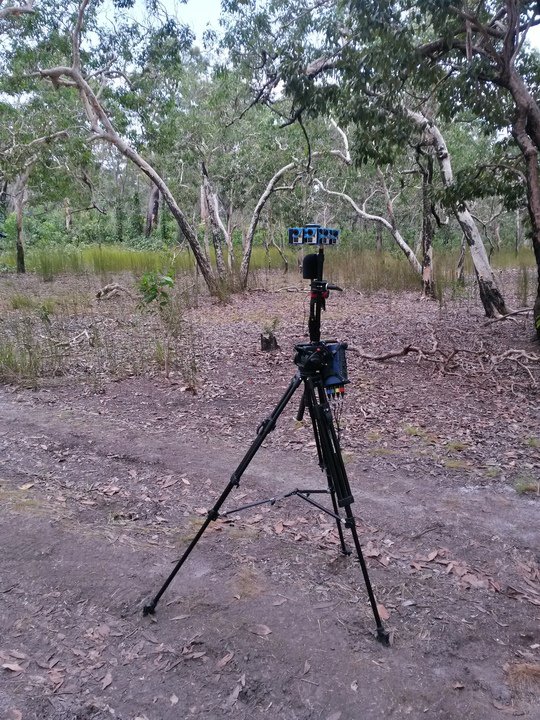

This rig makes use of a 3D printed shell that 12 GoPros are clipped into. The cameras are laid out so there's a left and right eye view in five directions, with a top and bottom view too. This was taken to Cape York and the footage shot with it will be seen in the upcoming Firesticks project.
GoPros were chosen to try and give higher image quality. This was especially important to us as the end results are intended for our 10k screens.
This was our first experiment in 360 footage, so of course there were some problems to work out. First of all, the cameras were all synced by remote over wifi. This meant that some cameras started a few seconds later than each other, and when it came time to stitch, we needed to adjust the footage so it synced up to the exact frame. Additionally, the 3D printed rig had some wiggle room for cameras, meaning they didn't get that perfect alignment we were always after. It was a good start though, and got us thinking about the next step.
16 Camera Rig
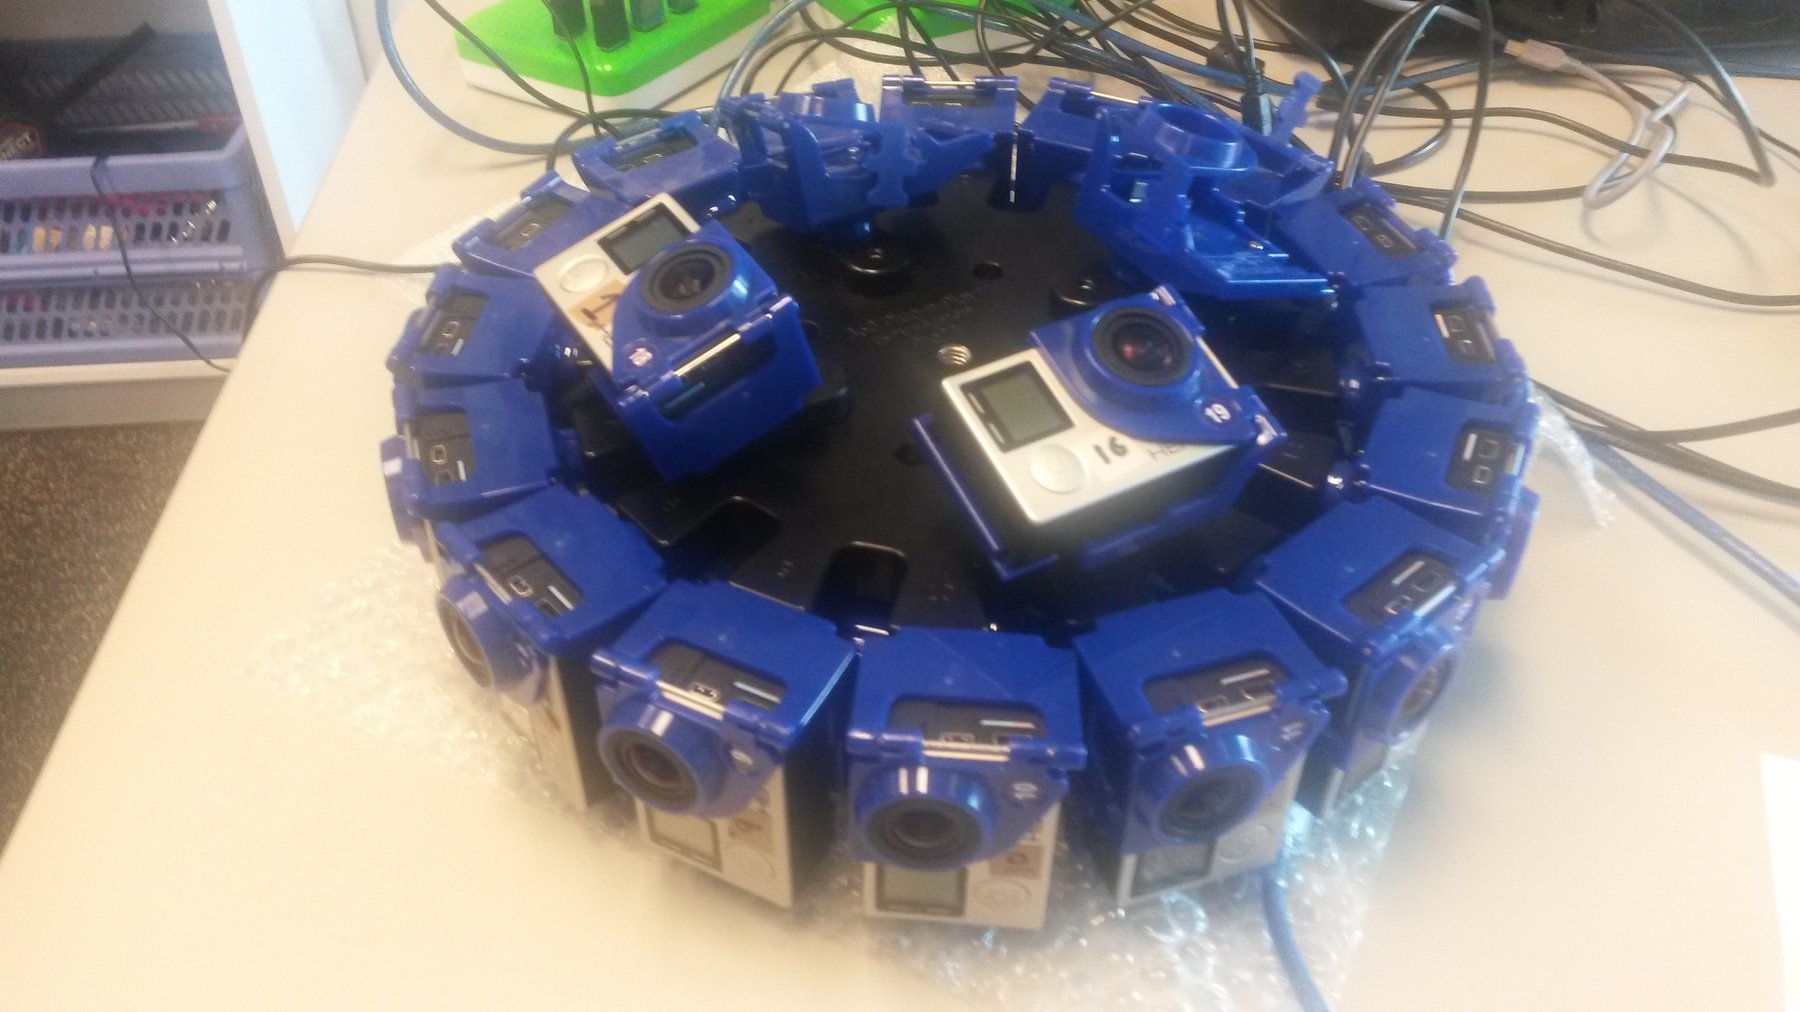

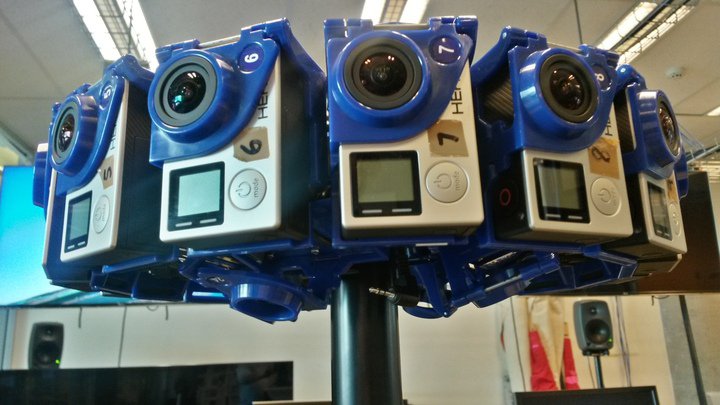

The 16 camera rig is our current rig we're using for future projects. This time we've upped the number of GoPros to 16. There's space for an additional 8, four on the top and four on the bottom, but for the purposes of our Data Arena screen just the horizontal cameras are sufficient.
This rig is much more sturdy, and the additional cameras let us create much higher quality images. This camera is in line to be taken on our next project, we hope you'll stay tuned to see the results.