Bring in Your Work
Once you've got a project ready for testing, you'll need to create a packaged version of your workbook.
Follow these instructions to create a single .twbx file of your project.
Transfer your project to us via Cloud Storage
For simple security the Data Arena operates on the principle "Pull not Push". You cannot push your files into the Data Arena (DA). There is no remote login. There is no method to put files on the Data Arena file system. Instead, you need to physically come into the Data Arena and then "pull" your files in from some remote site. That way you are authenticating to some external site, not the Data Arena. It's a subtle difference, but means a lot in terms of security. There's a firewall blocking connections which originate from outside. So you need to be inside first, then download your project files from the cloud.
To get your files onto the DA file system, we recommend using cloud storage such as CloudStor, Dropbox, Google Drive etc. You'll first upload your workbook to here, then download once your in the Data Arena.
We recommend CloudStor. It's fast, free for UTS staff, and can store hundreds of GBs. As a CloudStor user you can "send a voucher" to others to let them then send you files.
Simply upload your .twbx file to your service of choice, make a booking, then come in to the DA.
|
Why use the Cloud? There was a time we accepted data from a USB Stick or HDD Disk. In some cases we can still do this, if you contact us ahead of time. However, there are many issues with "digital hygene" and literally electronic dangers when inserting USB devices from outside the Data Arena. Beyond viruses, a damaged USB Stick can cause real damage to our equipment. |
Publish to our Tableau Server
There are only a few simple steps to publish your project. If you plan to do some work in the Data Arena, it is good to have a project top-directory in our file system under which you can place your files. These all appear under /da/proj. In some cases, there is additional hierarchy, such as /da/proj/FEIT and /da/proj/DAB and /da/proj/ABC. You might ask one of the Data Arena support staff to make you a directory (tell them where you are from, to guide placement of your project directory).
If you do not have a proj directory you can use /da/tmp for now.
- Using Solo (accessible from the desk in the Data Arena) log into your chosen service (CloudStor, Google Drive etc) using Chrome or Firefox, and download your workbook.
- Move your
twbxfile to your project directory (or/da/tmpif you don't have one). - Use the
tabpubcommand to publish your workbook. To do this, open a new Konsole window from Solo's side panel and type the following command:
tabpub /da/proj/YourFolder/YourTableauWorkbook.twbx "My Tableau Project"
Make sure to replace YourFolder/YourTableauWorkbook.twbx with the correct path to your downloaded workbook. The last field "My Tableau Project" is the name your workbook will appear under on our Tableau Server. You'll probably want this to be the name of your project.
You should see a response that looks something like this if all is ok.
===== Creating new session
=====     Server:   https://ts2.da.uts.edu.au
=====     Username: dauser
===== Connecting to the server...
===== Signing in...
===== Succeeded
===== Upload progress: 0.08%
===== Upload progress: 0.25%
...
...
===== File successfully published to the server at the following location:
===== https://ts2.da.uts.edu.au/workbooks/MyTableauProject
Great! You can now close this Konsole window.
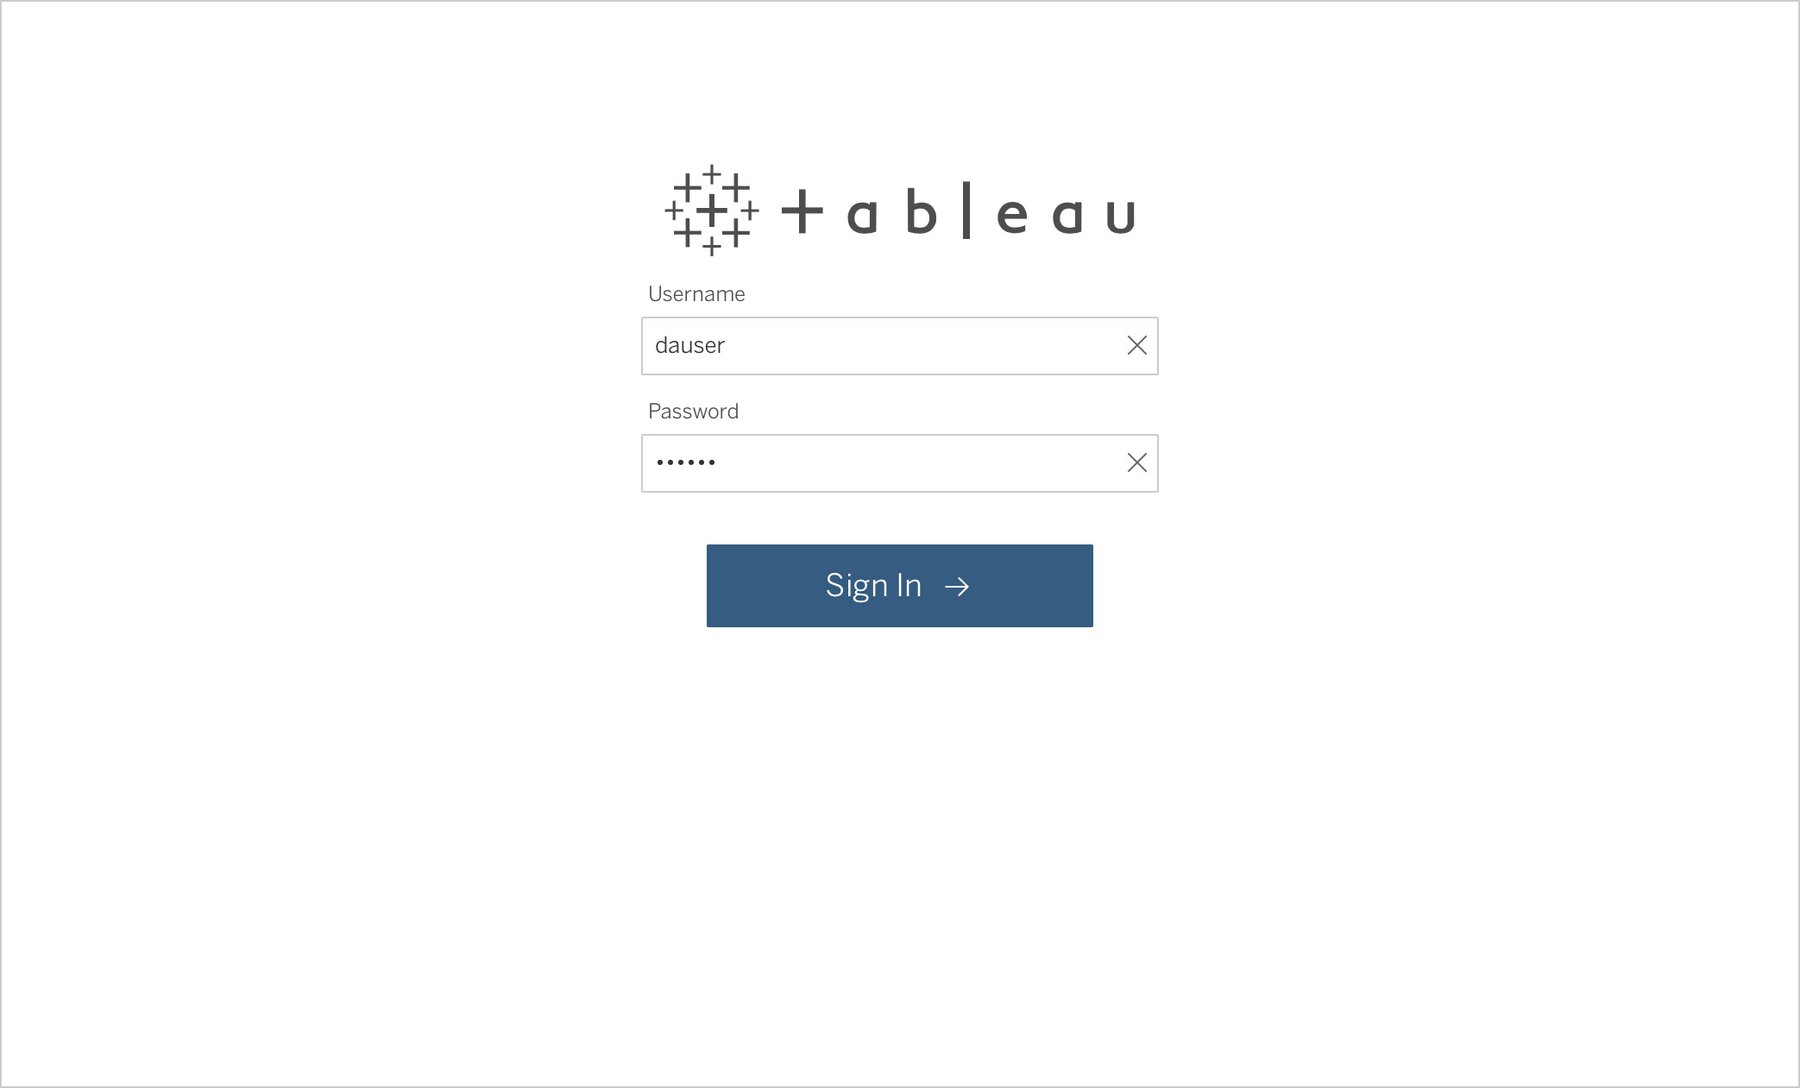
- Open a browser on Solo (either Firefox or Chromium) and navigate to our Tableau Server's web app at ts2.da.uts.edu.au (note: this link will only work from Solo). Login as the
dauseruser.
Contact us first for the password. This account is shared between the Data Arena Tableau users, so do be mindful of the work of others on here.


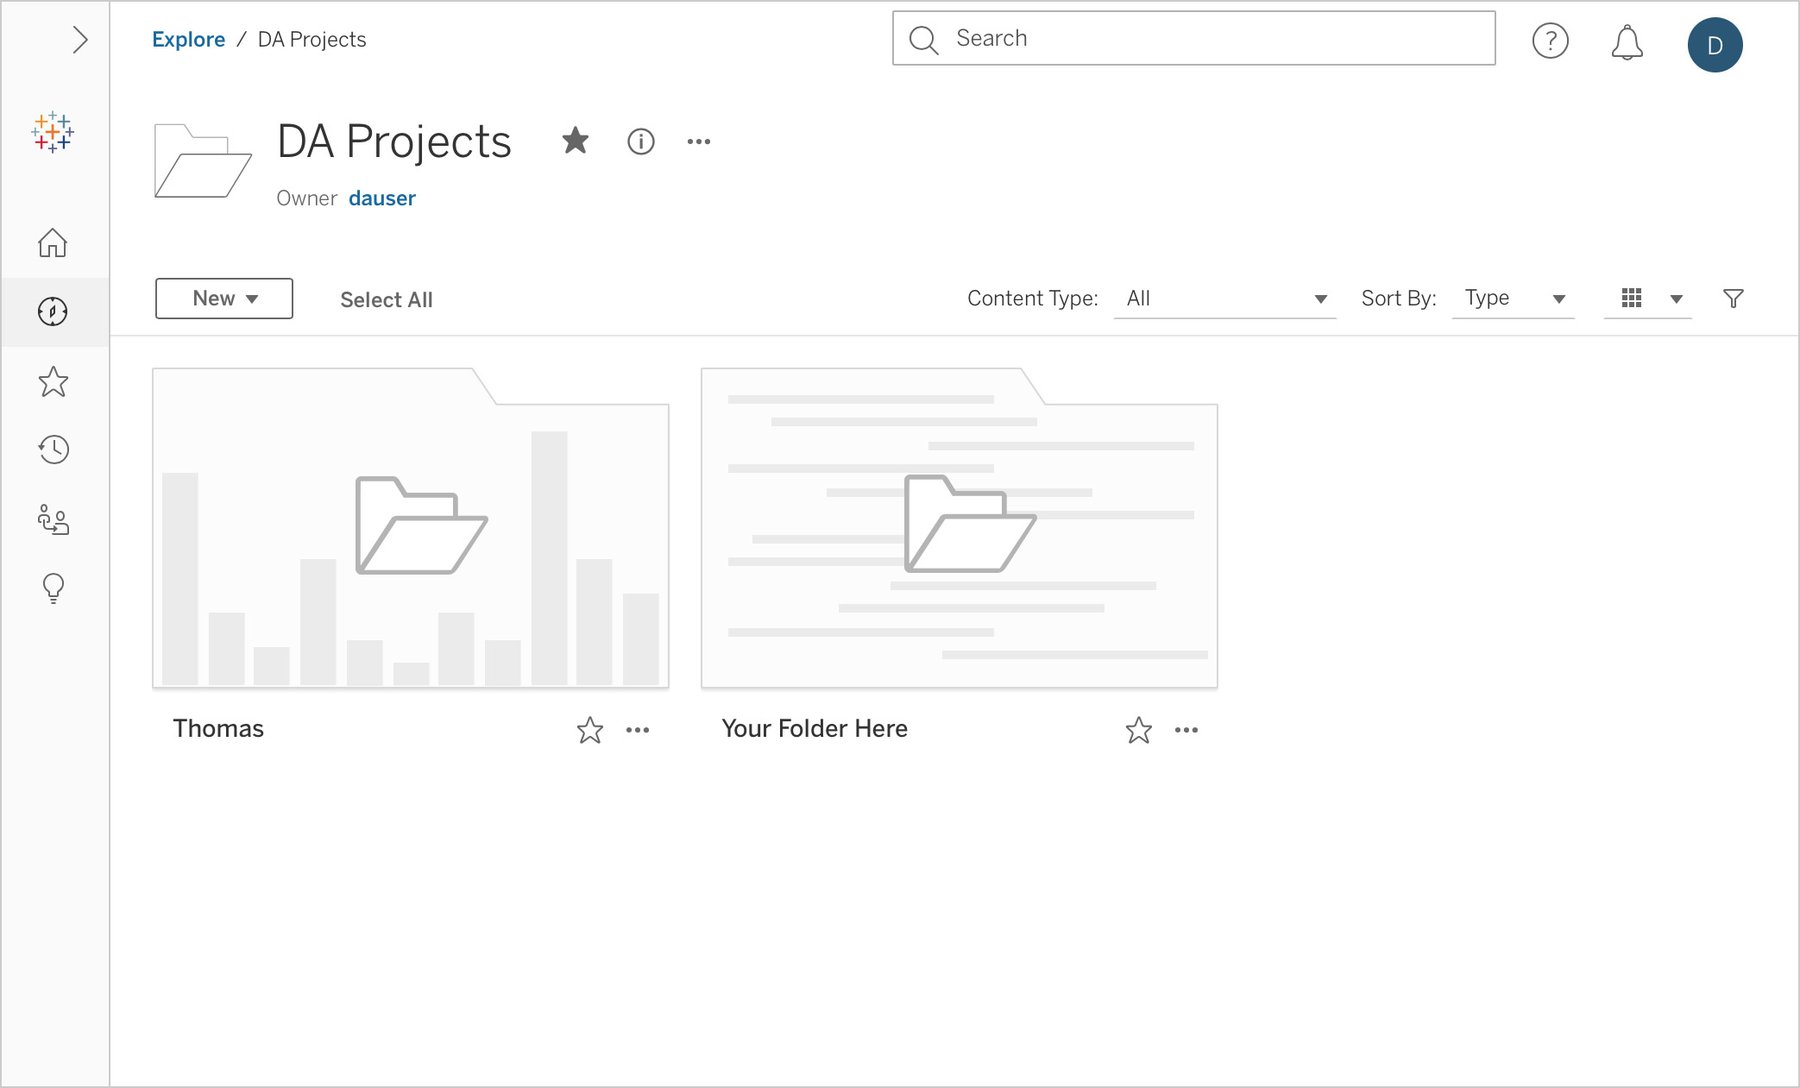
- Your workbook will have uploaded to the "Defaults" folder. So we can move it, navigate to the DA Projects folder (find it quickly in Favorites), and if you don't already have a project folder in here, create one for yourself. Use either your name of the name of your project. This folder will be for you to manage and can contain any number of sub-directories.


- Head back to the "Defaults" folder where your workbook was uploaded to, select the ••• icon next to your workbook and choose "Move", then move it to your folder in DA Projects That's it! Your workbook is now on our server and ready for viewing. Hit "Next" below to display your work in the Data Arena.