Prepare your Project on our Workstations
The Data Arena shares an interactive lab space on in Building 2 (UTS Central) on level 11. We have 4 shared computers. These run the same OS and software as the Data Arena computers, and are auto logged in as dauser.
As shared computers, remember to be mindful of your files and the files of others.
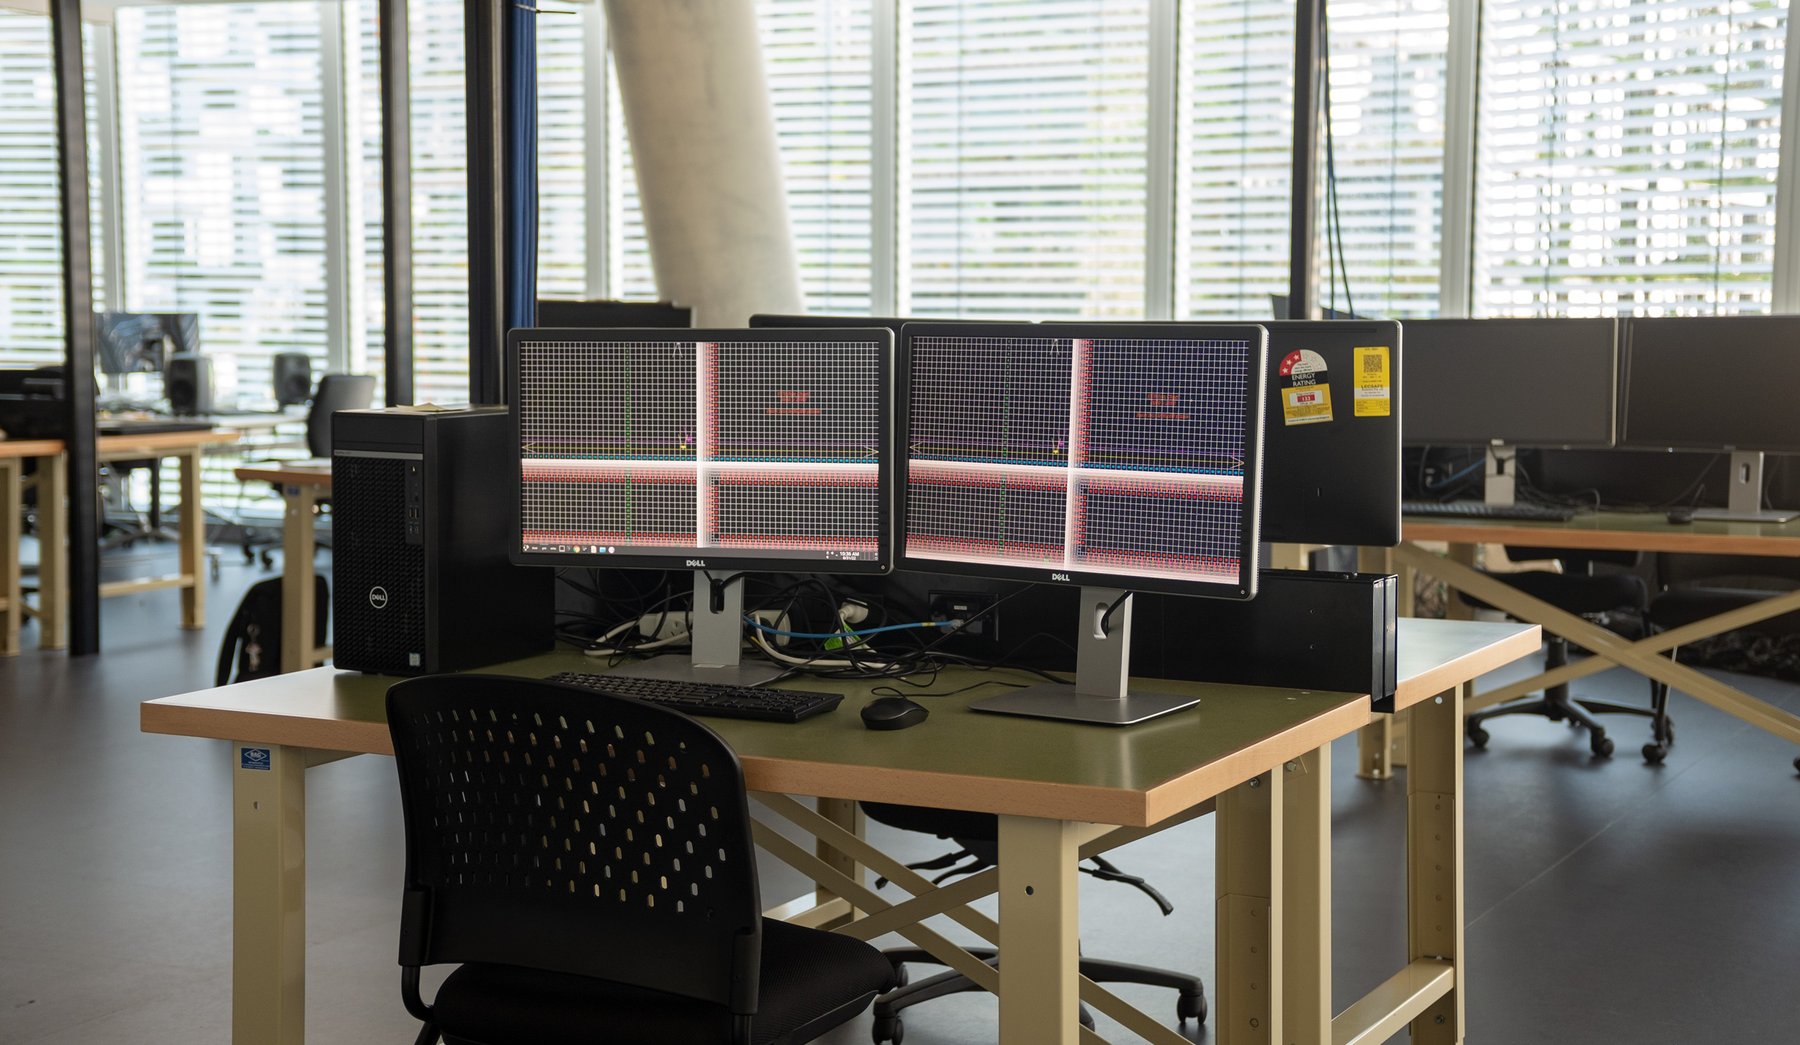

This workstation is da-dev4 (1 of 4)
Swipe Card Access
To gain card access to the lab, you’ll need to complete a quick online induction. Login here and search for the FEIT CB02.11 Interactive Lab Access course. Once completed and approved your swipe card access should be activated within 1 day.
📁 Find your folder
On each workstation, there is a folder for user projects located at /mnt/local/proj/. From there, we have created folders per faculty, subject or project etc. Let us know in the DA + UE team if you don’t have a folder already or you aren’t sure where to put your files. If you aren’t confident with using Konsole, you can use Dolphin for file management (blue folder icon).
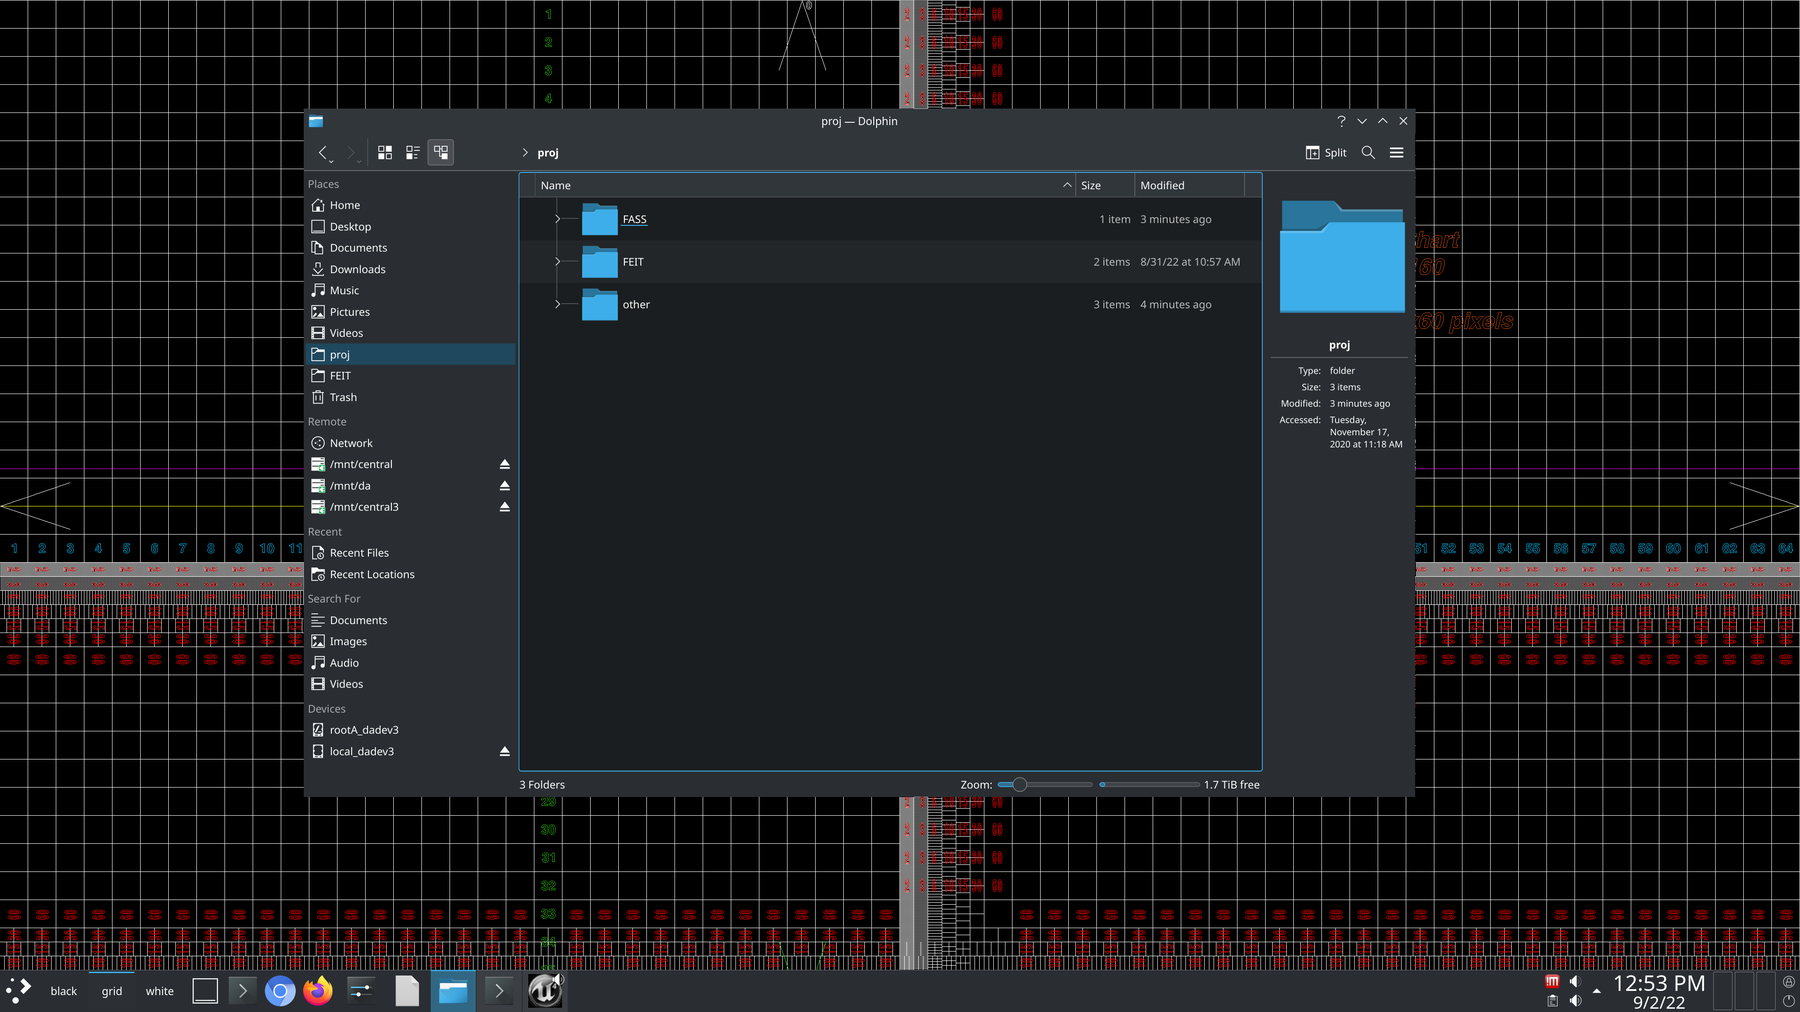

Dolphin can be opened from the blue folder icon or running dolphin in Konsole
📦 Transfer your project files
As outlined on this page (link to process page), you’ll likely be working between a DA lab computer and your own. You have a few options for transferring your project back and forth:
- Use cloud storage such as CloudStor (UTS provides 1TB for free), Google Drive or Dropbox etc and upload/download between computers.
- Use a physical USB/hard drive
- Use Git version control
- Git is an excellent option for keeping multiple copies of files in sync. UE works well with Git and only uploads/downloads new changes. Learn more here.
🚀 Launch Unreal Engine
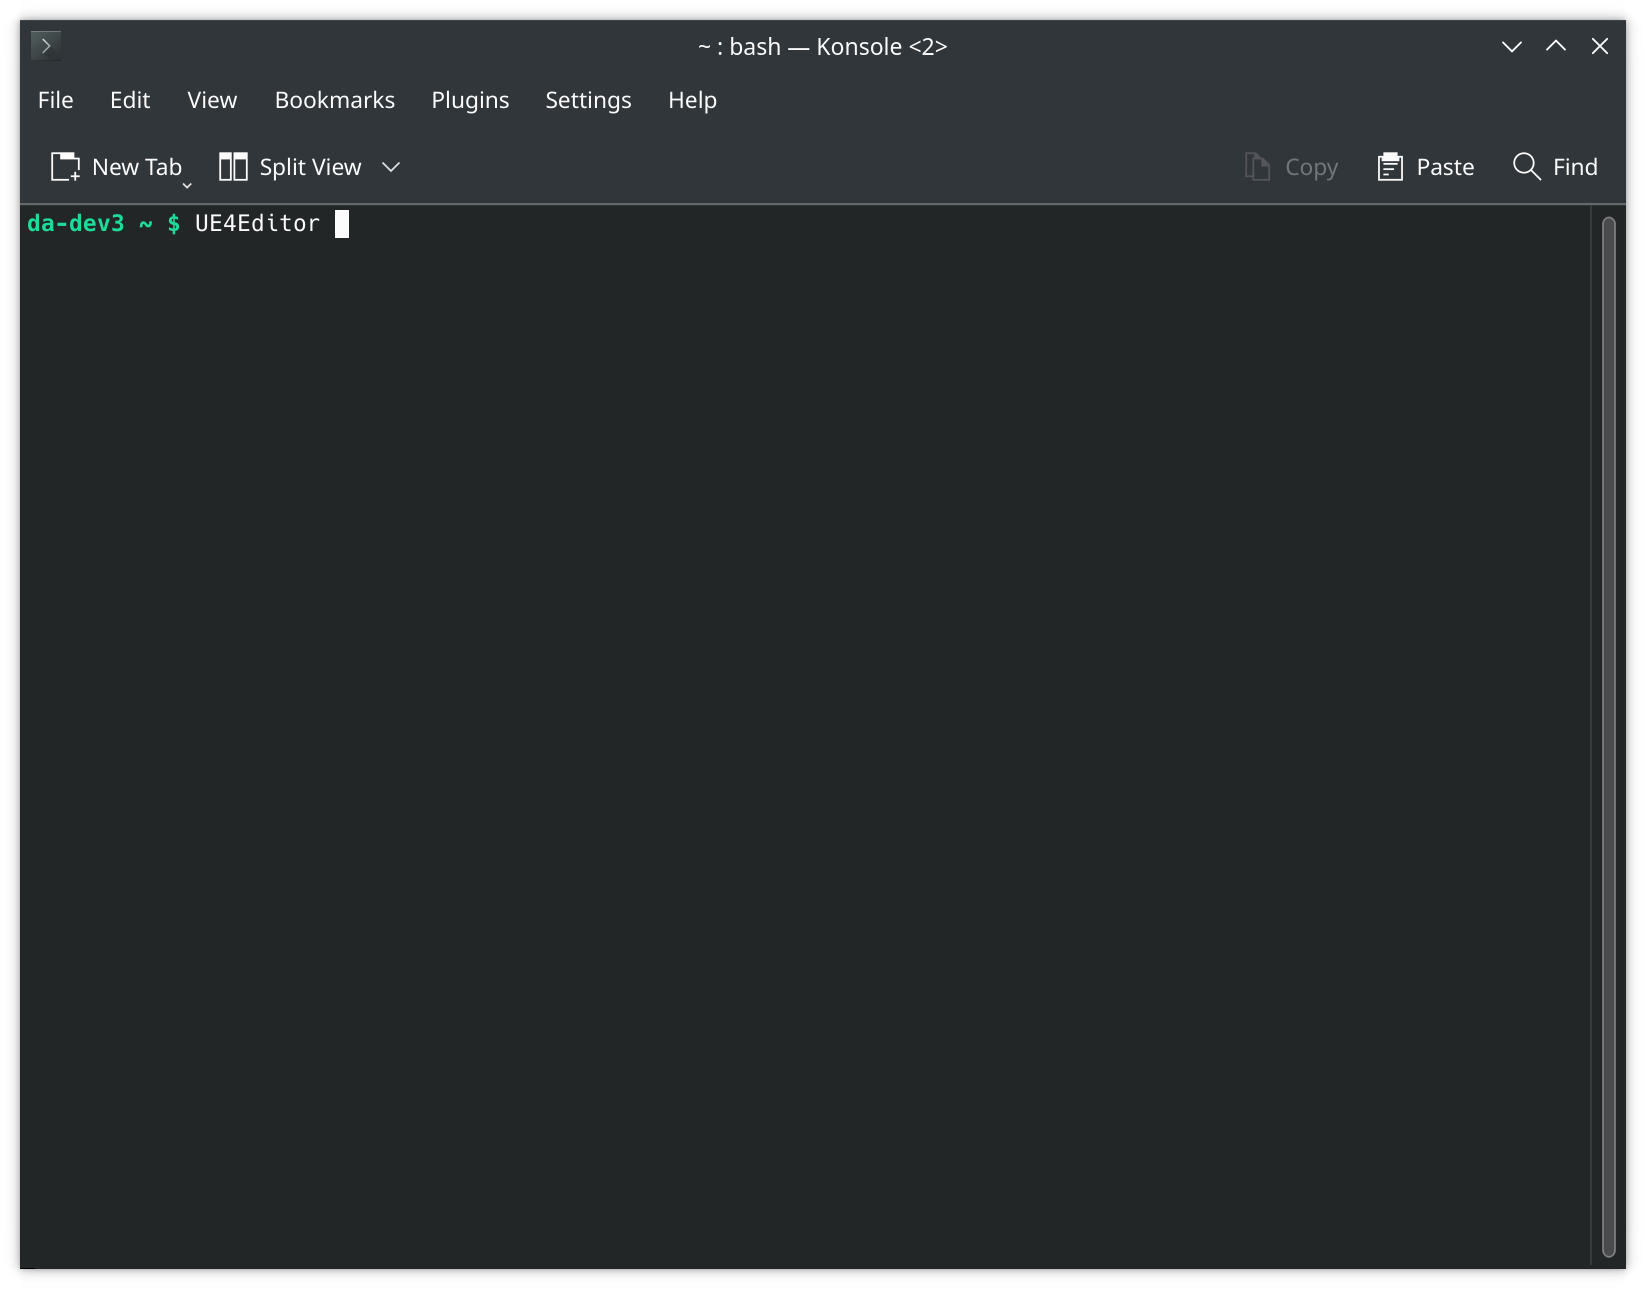
Launch our version of UE4.25 by opening a new Konsole window and running UE4Editor (type this and press enter). You’ll see a lot of messages as UE logs what it’s doing. Keep this window open.

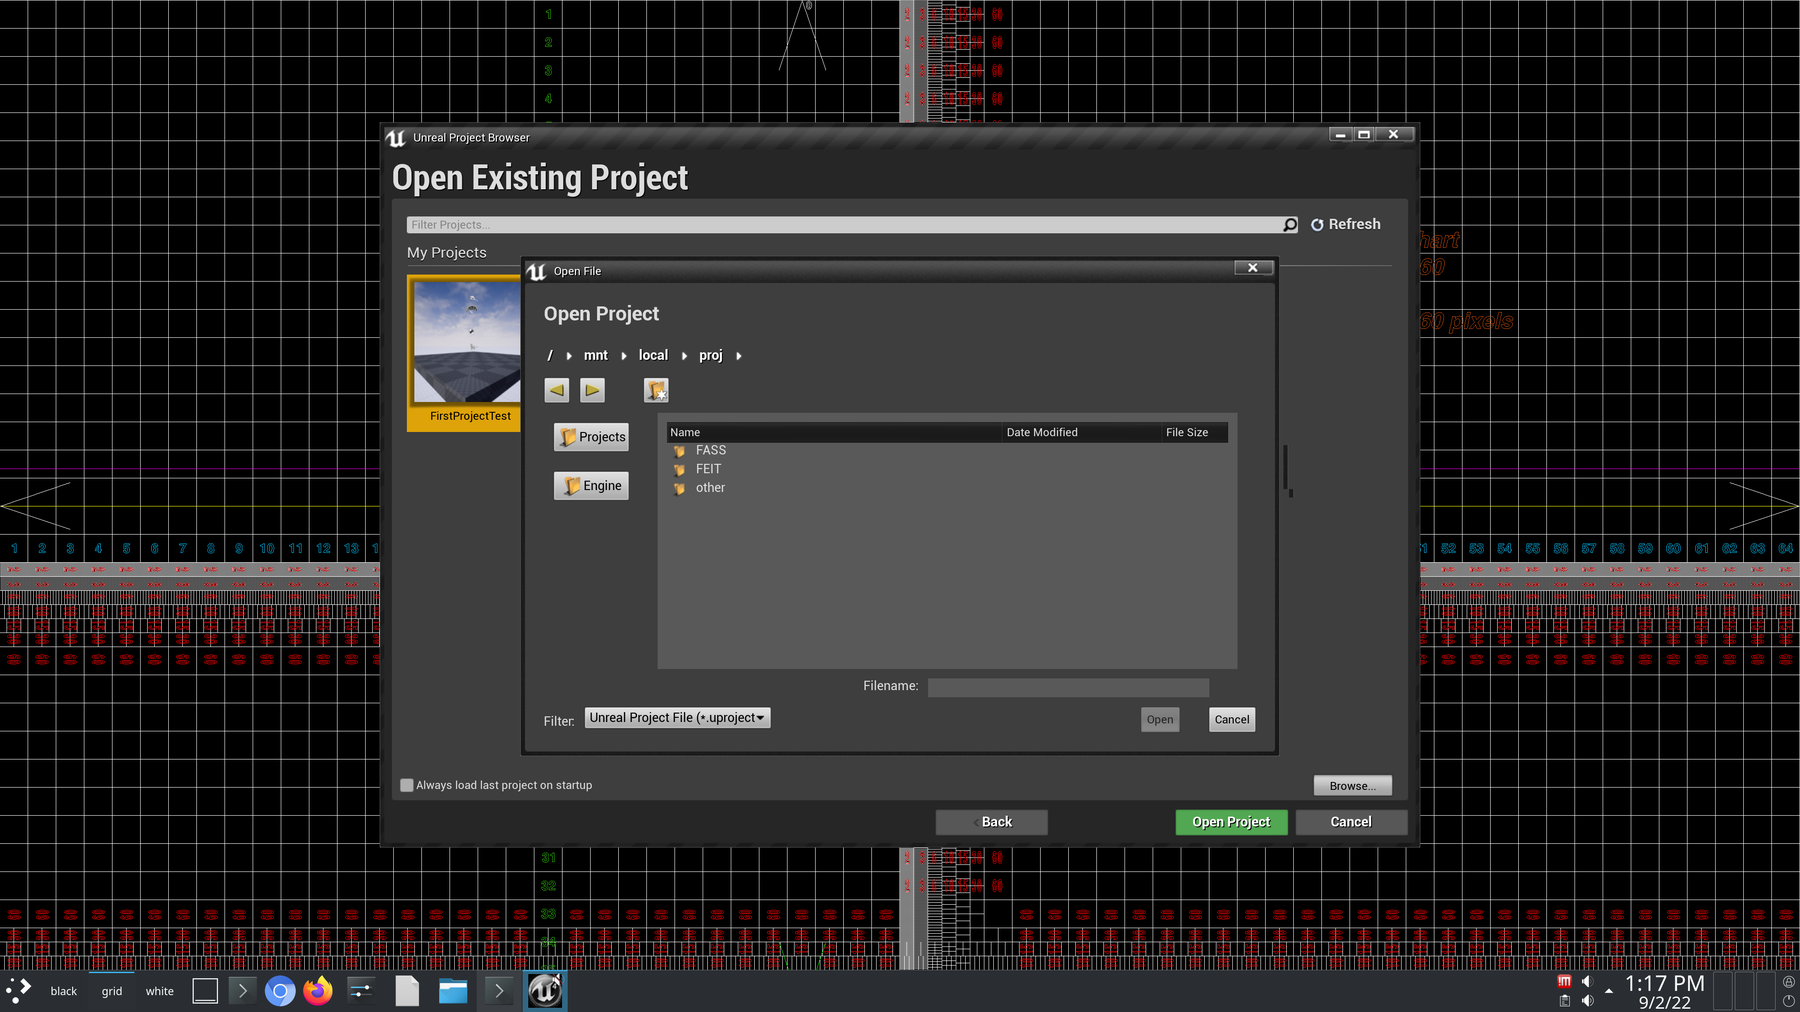
📂 Open an existing project
If you’ve transferred an existing project, use the Browse button to find and open it. Otherwise skip this section.

You will likely see this message when transferring projects between different computers. Select More Options Choose either:
- Open a copy which will duplicate your project and convert new files only or
- Convert in-place (recommended) which will modify your existing files


⭐️ Start a new project
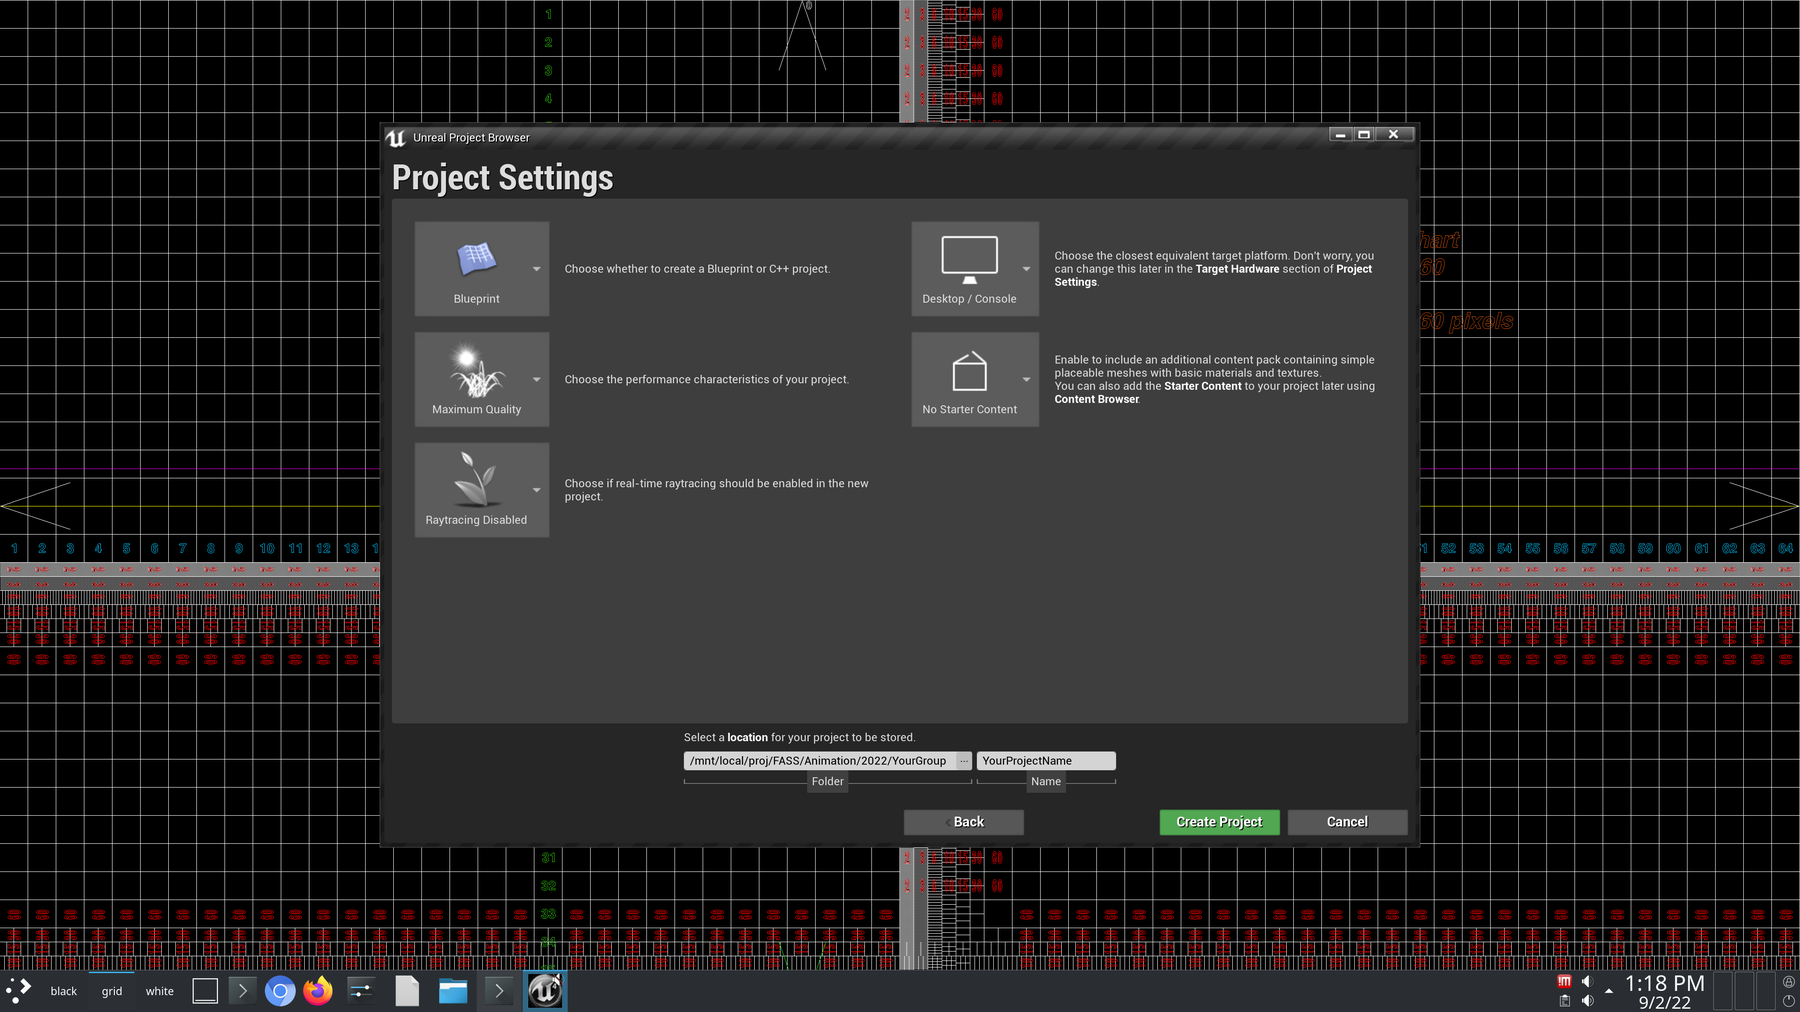
If you’re starting a new project on a lab workstation, make sure you’ve set the location to your folder. Try to avoid names such as TestProject or Experiment and be more descriptive.

🛠 Setup your project with nDisplay
This 2 minute video below will demonstrate how to prepare your project to run in the Data Arena. These essential steps are explained in more detail below.
NOTE: It's important that the nDisplay plugin ONLY be added from a Linux-based computer!
If you have already added the plugin in Unreal Engine running on either a Windows or Mac computer, then with the project opened on a Linux machine you must first completely disable the base nDisplay plugin, restart the editor, then re-enable it, and then re-enable it in your project
✅ Preparation Checklist
- In Settings → Project Settings → Description
- Under Displayed set the Project Displayed Title to anything you wish but make sure to include “nDisplay” somewhere.
- Under Settings only tick Use Borderless Window and untick all other options.
- These options will allow window display rules in the Data Arena to render full-screen, seamless windows.
- In Settings → Project Settings → Maps & Modes
- Set both the Editor Startup Map and Game Default Map to the level you wish to launch in the DA
- You may need to create and save a level first if no options appear.
- In Settings → Plugins search for “nDisplay” and tick Enabled. Press Restart Now to restart the editor to add the nDisplay plugin to your project.
- In Settings → Project Settings → nDisplay tick Enabled to activate the plugin. Restart the editor again. A UI glitch may prevent clicking the Restart Now button. A simple workaround is to select your project from File → Recent Projects to restart the editor.
- In the Place Actors panel, search for “Display Cluster Root Actor” and drag it onto your level. In the Details panel for this actor, find the Display Cluster (Editor Only) section and set the following:
- Config file:
/da/proj/unrealEngine/configs/devs1234.local.cfg - Node ID:
node_1
- Config file:
This actor will activate the nDisplay system within the editor using the specified config file. This will allow you to interact with input devices from the DA Assets plugin.
Audio Playback
If you're including audio as part of your UE project for the DA, it's best to set the following option so that audio playback isn't interrupted:
In your application's source folder edit the (your UE project source folder)/Config/DefaultEngfine.ini file to include the following entry:
[Audio]
UnfocusedVolumeMultiplier=1.0
(This ensures audio will always playback, even if the application window 'loses focus')
👍 Your project is now ready to package
With these steps complete, your project is now ready to package for Linux and can be run in the DA. The following pages will cover this short process, and introduce the DA Assets plugin you’ll need to integrate the Space Mouse device or our Motion Capture system.