UTS Data Arena
  • home
  • projects
  • dive in
  • about
  • calendar
UTS Data Arena
projectsdive inaboutcalendar

Unreal Engine

Follow our ongoing process of integrating Unreal Engine and nDisplay into the Data Arena.


13 Oct 2021 18:10

Virtual Production in the Data Arena

Combining real and virtual worlds with Unreal Engine

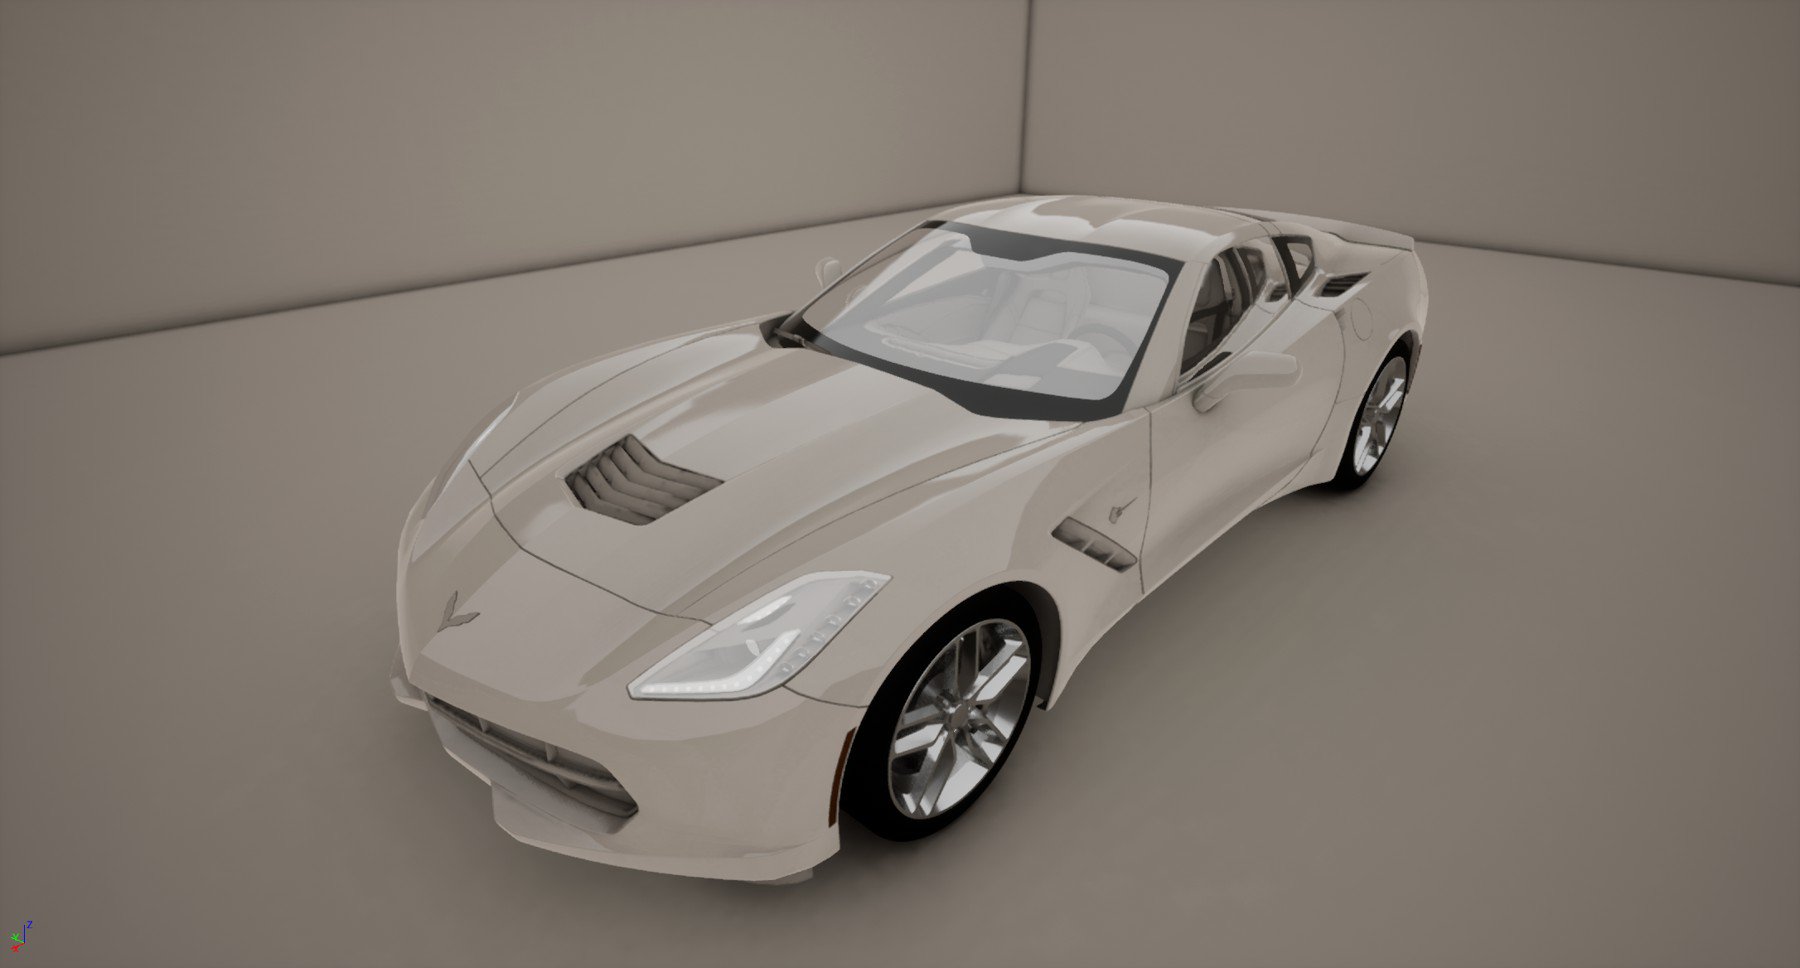
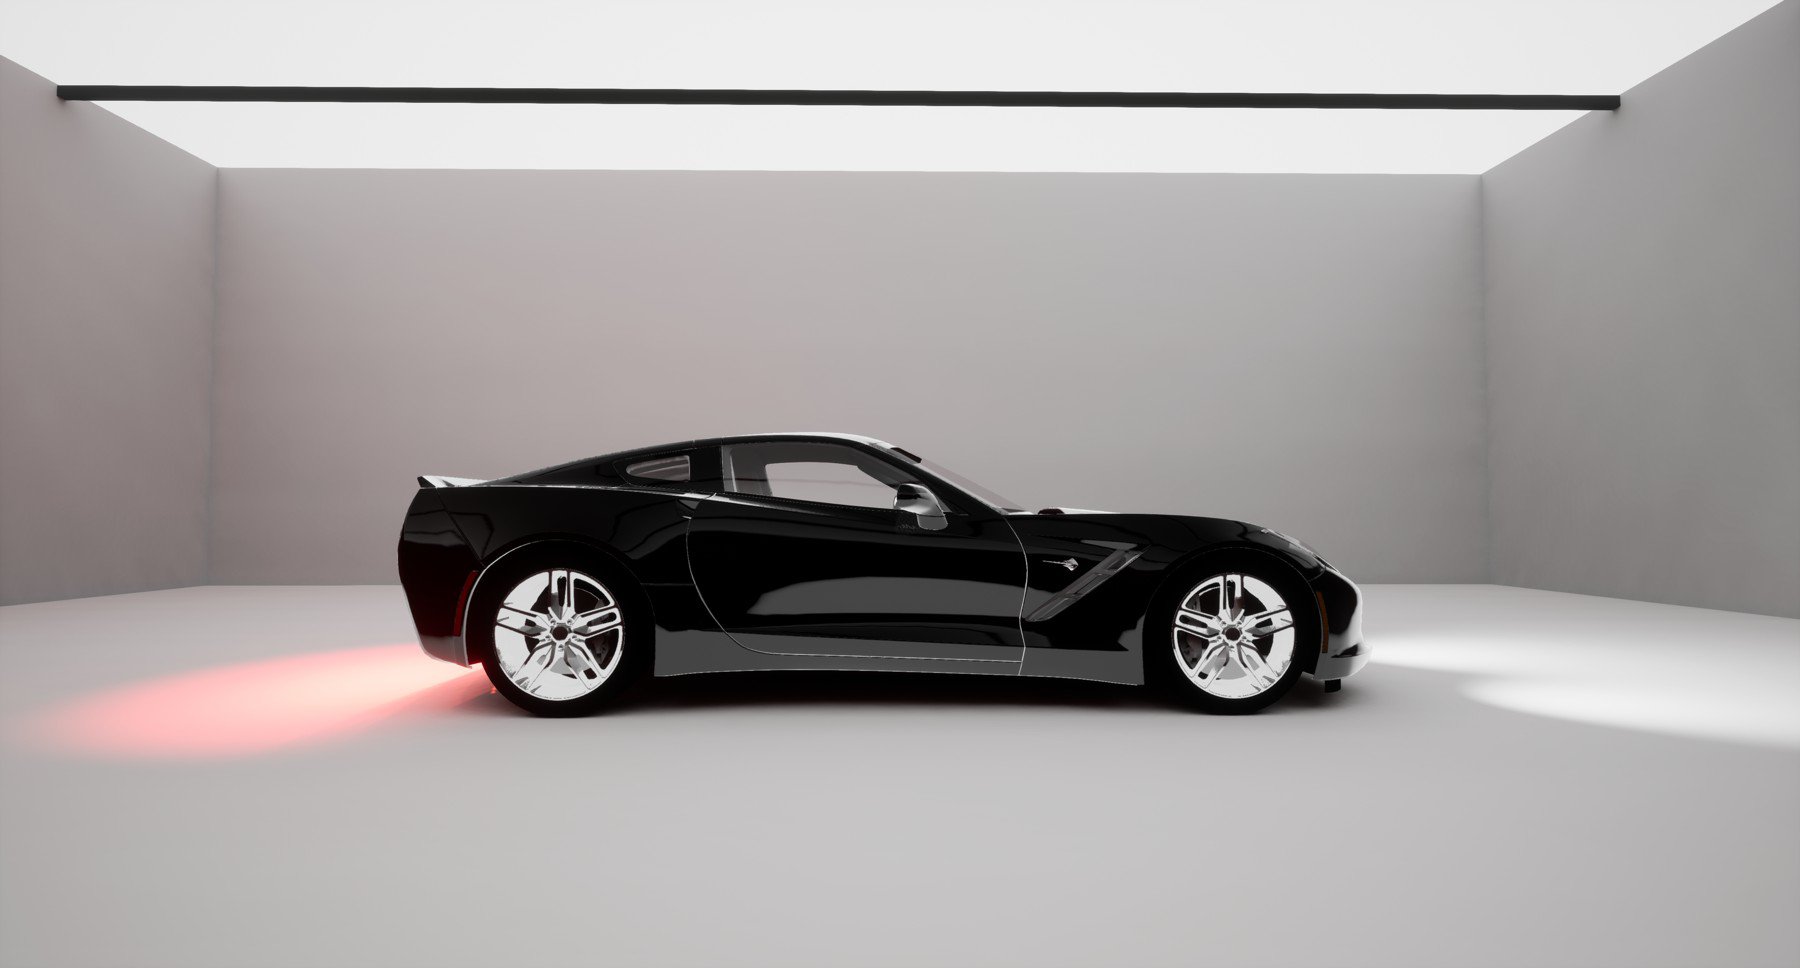
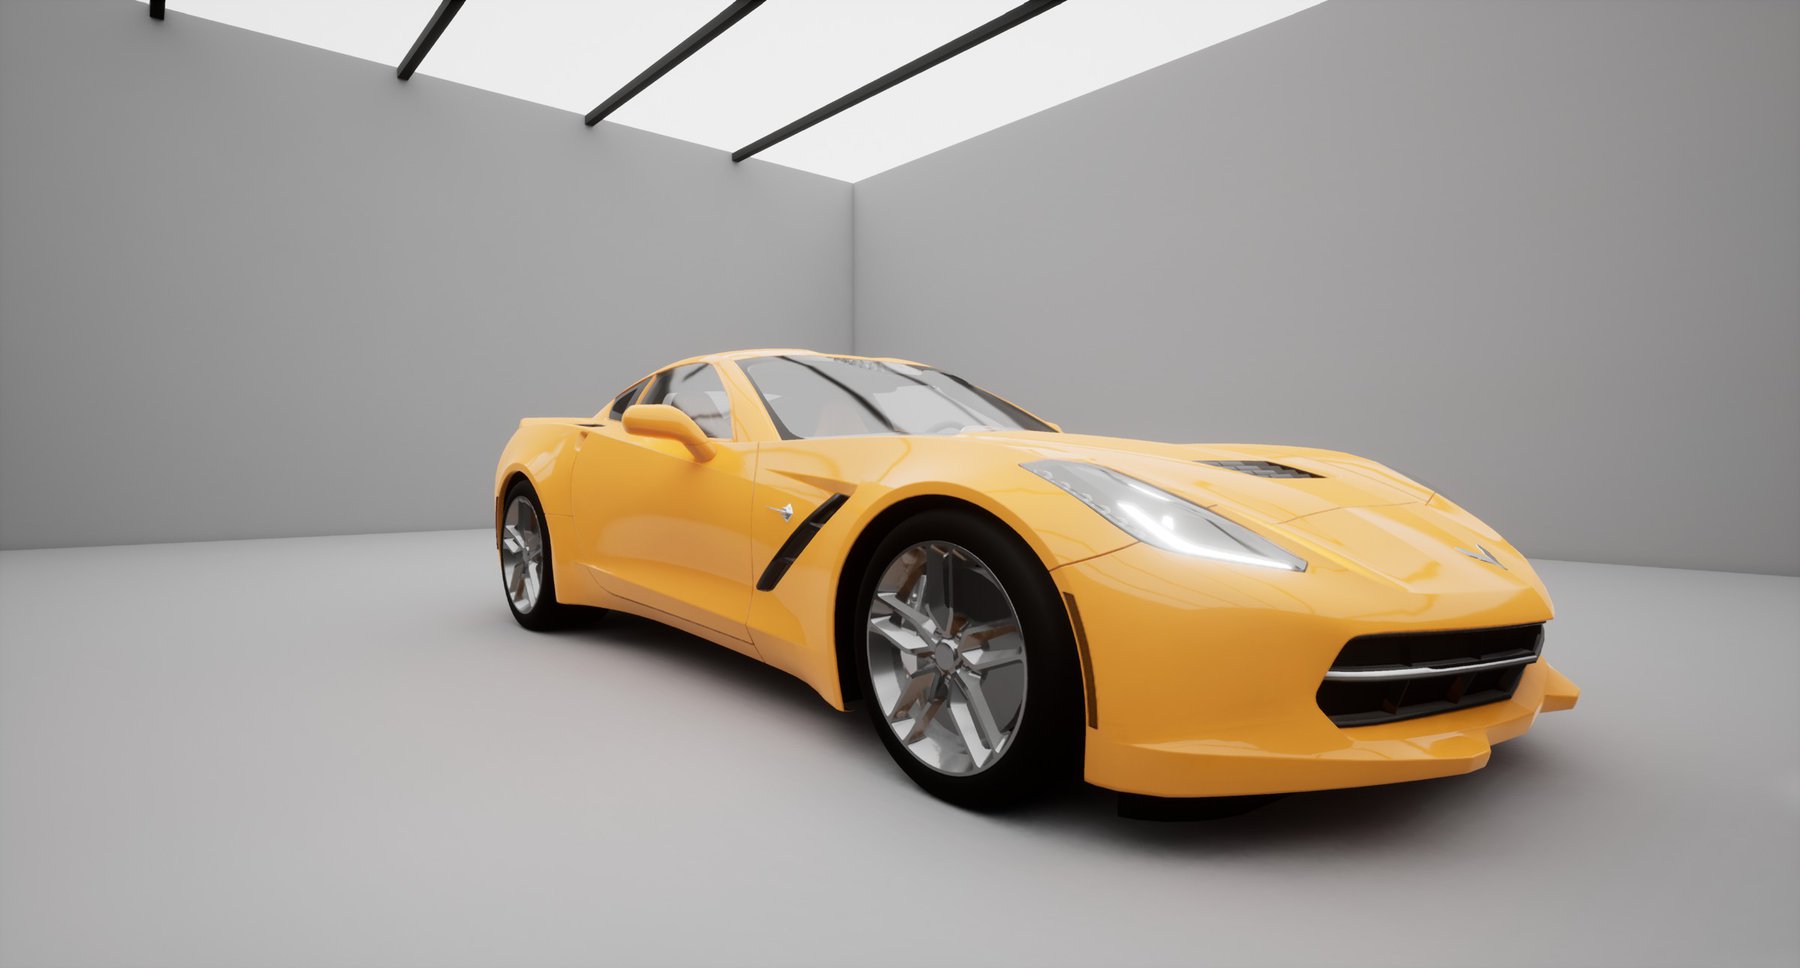
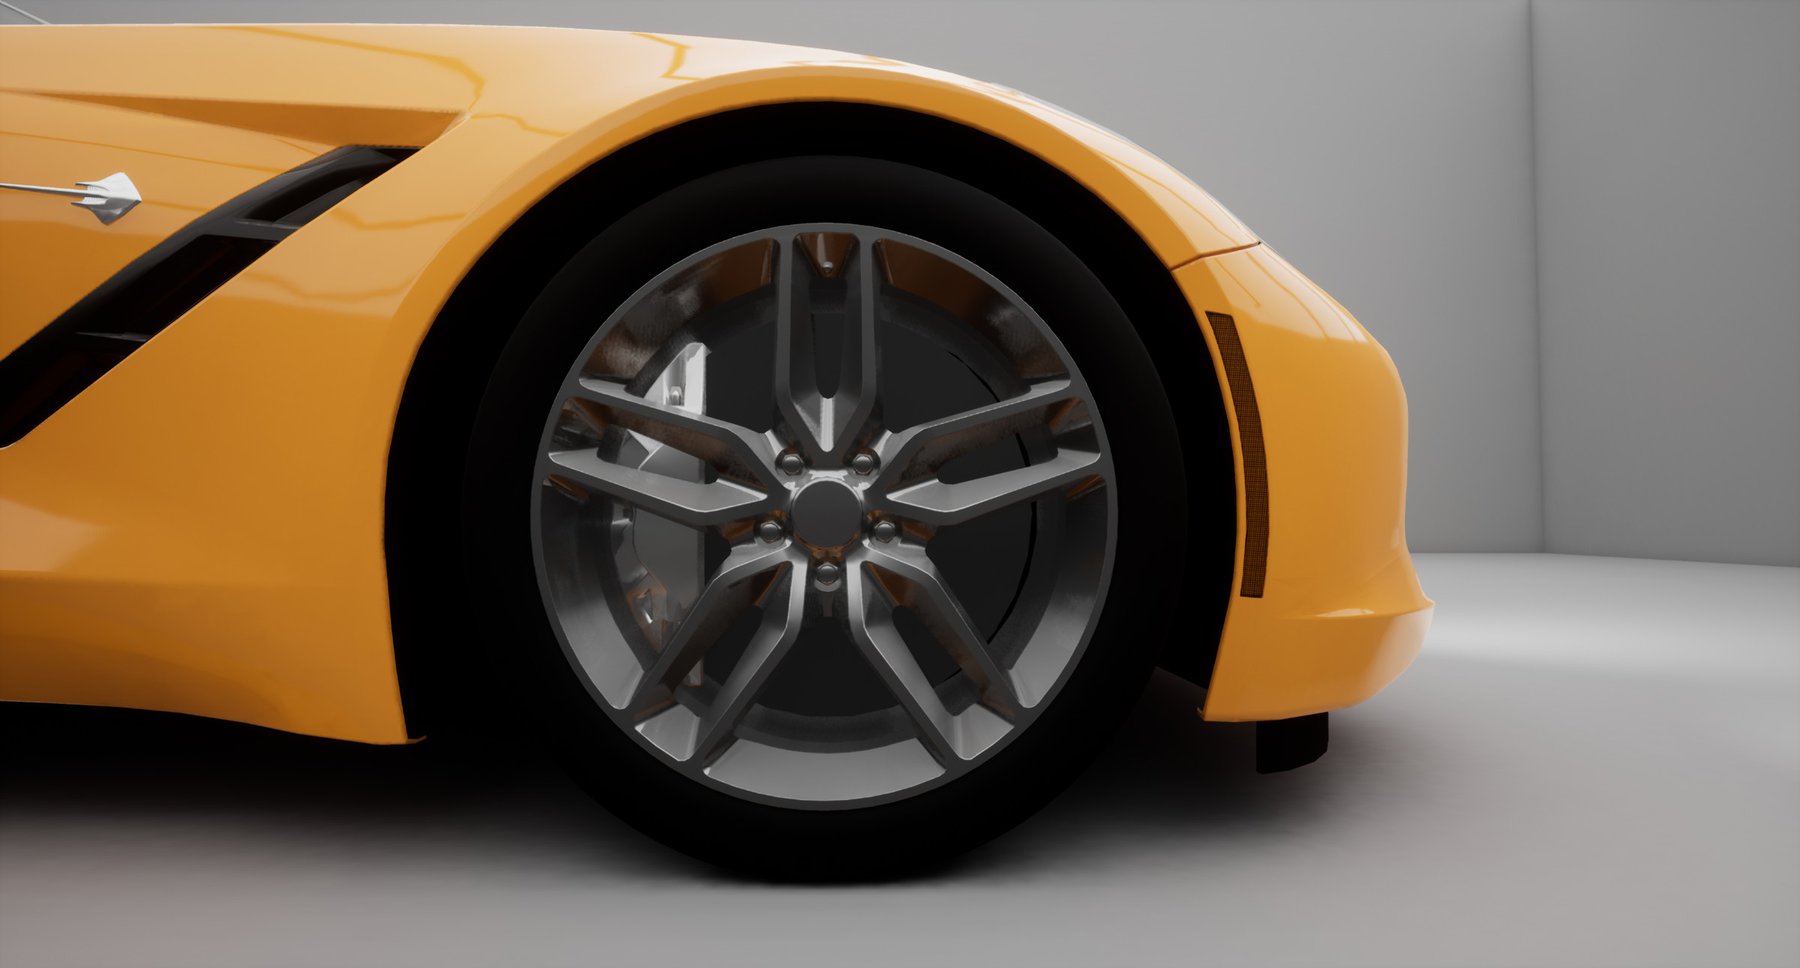
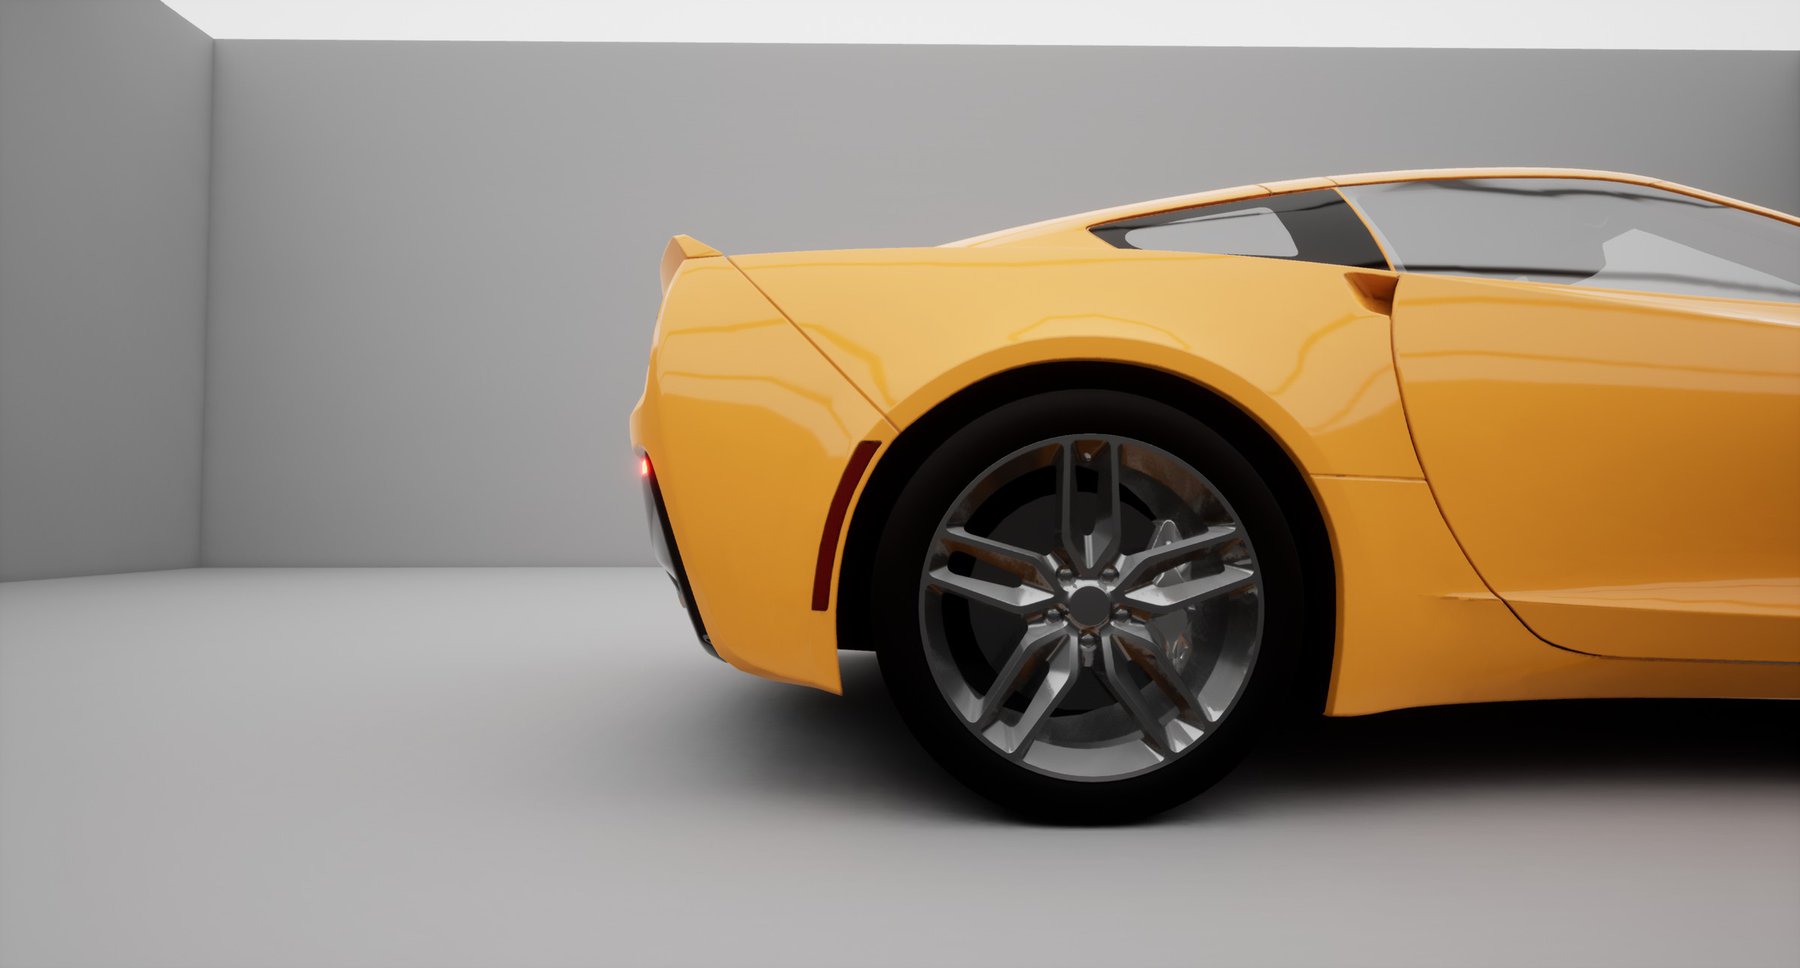
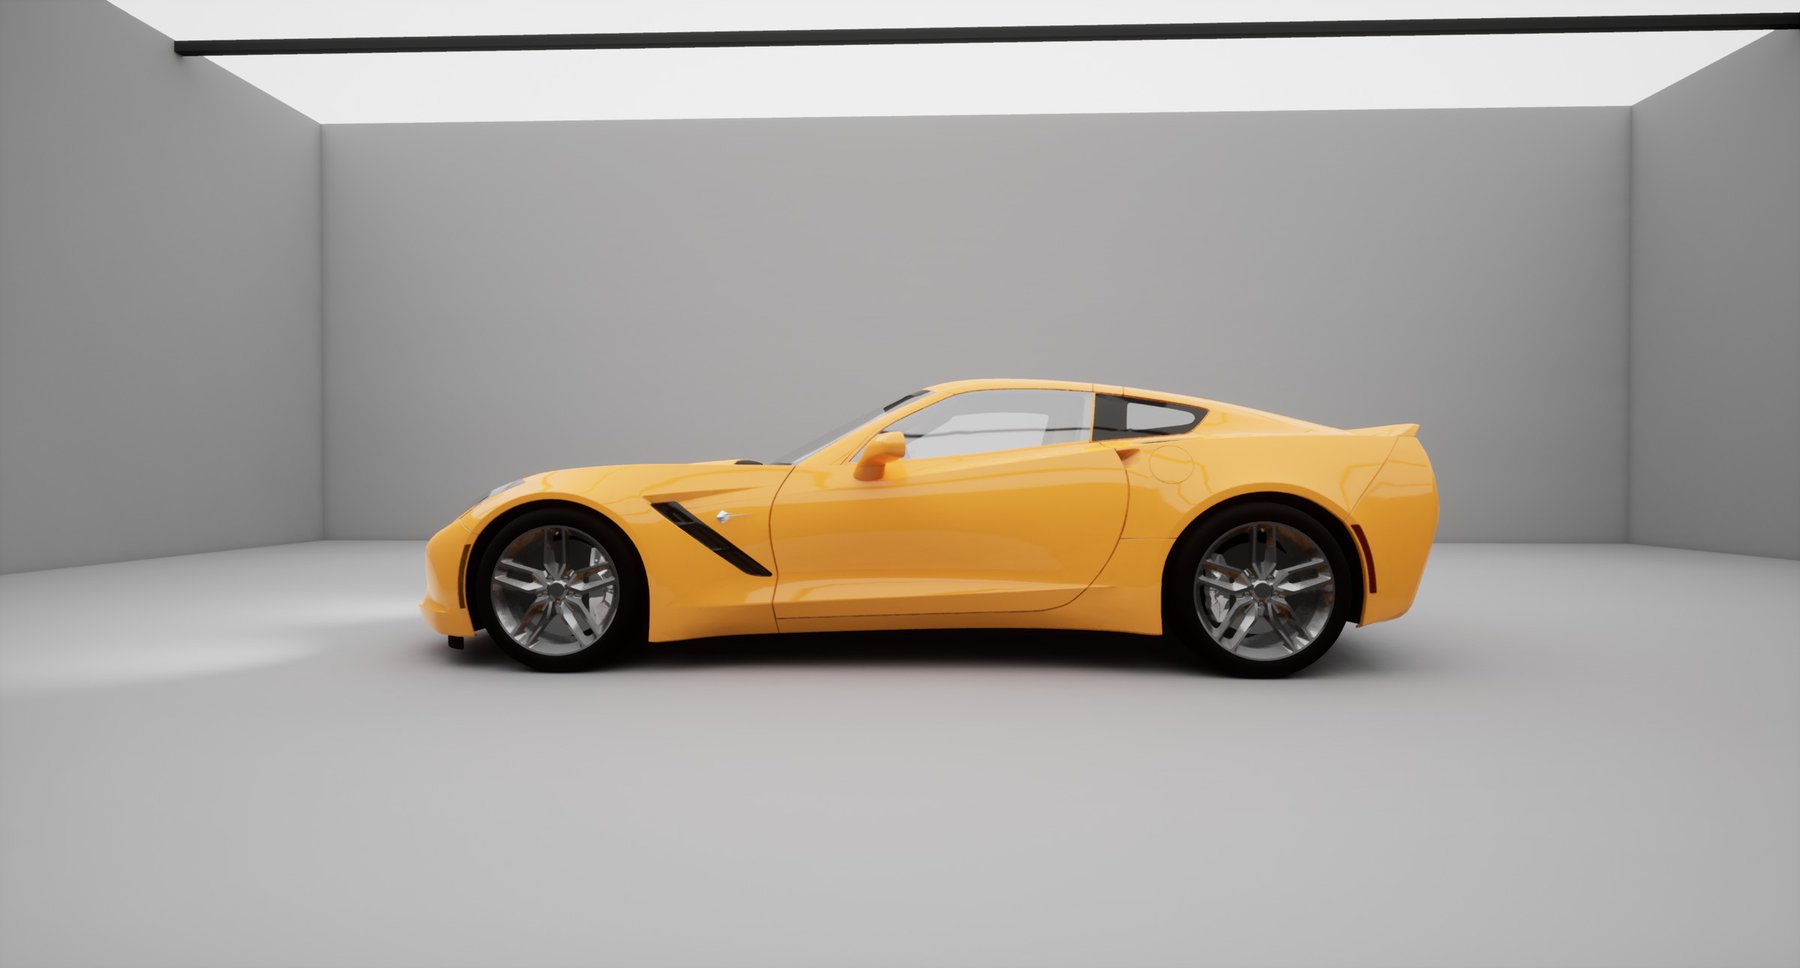
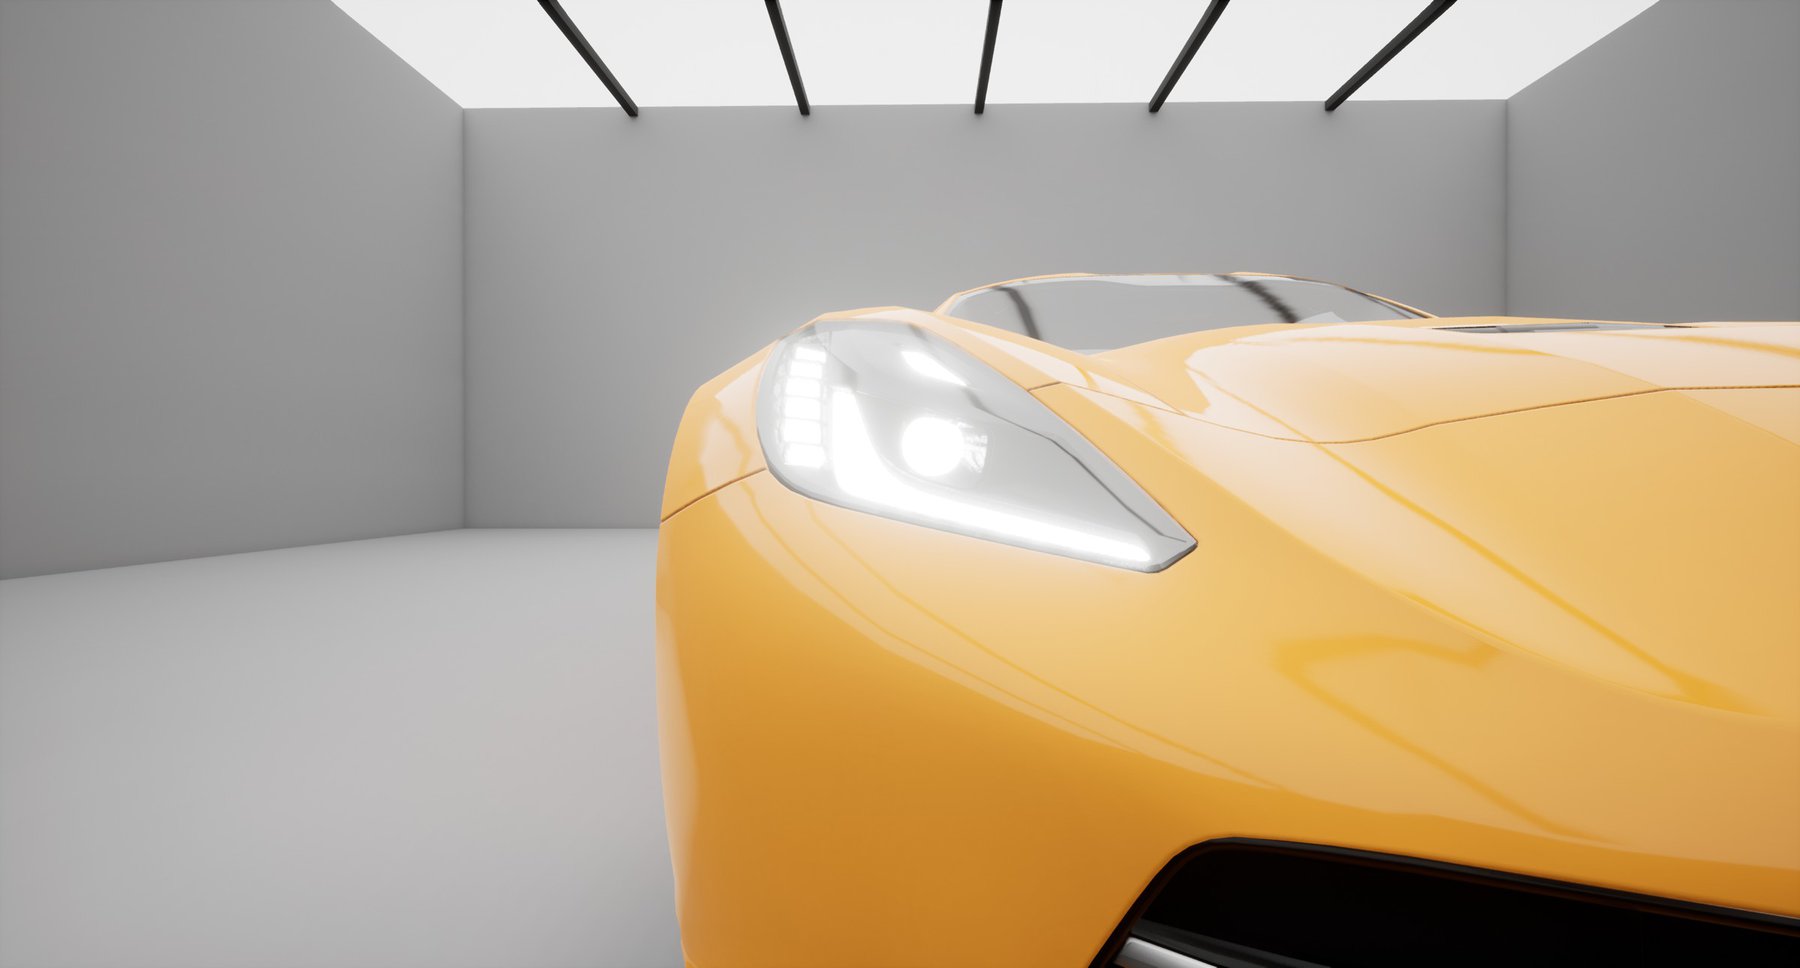
In early June 2021 — before Sydney's four month Covid Lockdown — students from the UTS Animal Logic Academy kicked-off the Data Arena's first series of live Virtual Production experiments. Virtual production is the combination of live-action video and large-screen computer graphics which respond to the camera's moves in realtime. The realtime position and motion of a live video camera is tracked in 3D. Large-screen computer graphics provide a digital background, set behind a live actor. This background is transformed to counter-match the camera's move. Done correctly, the actor appears to be standing in front of real virtual world. The computer graphics are locked to the video camera's moves. This live in-camera technique replaces the traditional green-screen / chroma-key / background replacement / rotoscope techniques typically produced offline as a complex post-production process. The benefits are immediate. The director can see the result on-set in camera. The display can even light the actor. There's no green-screen light spill on actors.

Virtual Production is a rapidly advancing field pioneered by the production process of The Mandalorian.

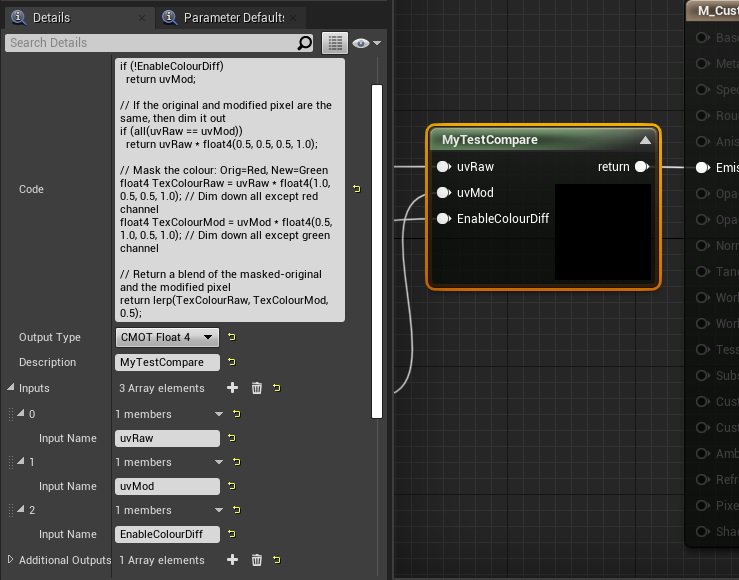
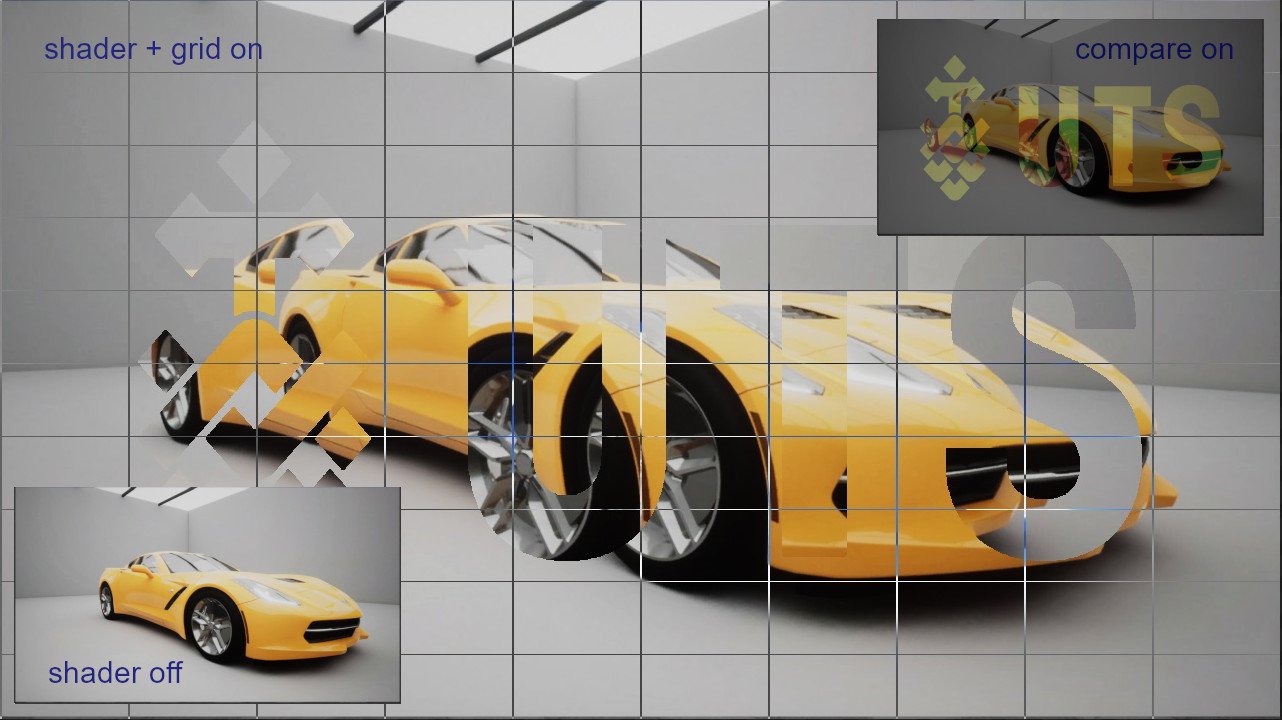
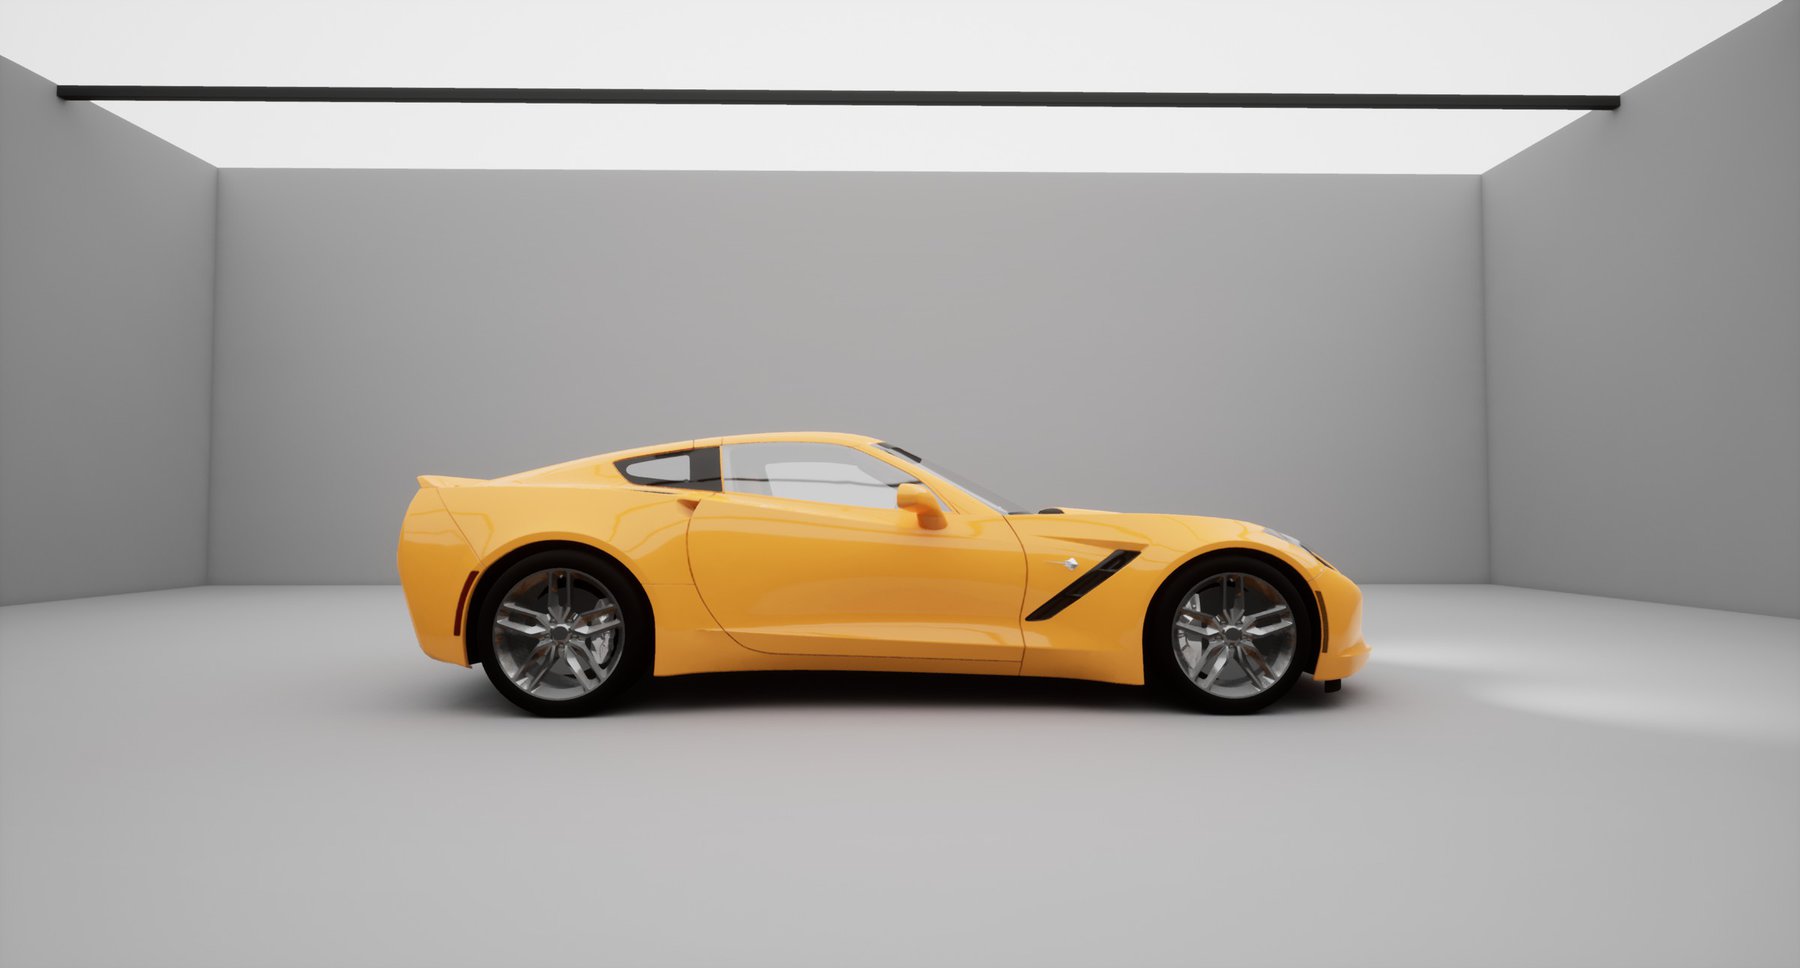
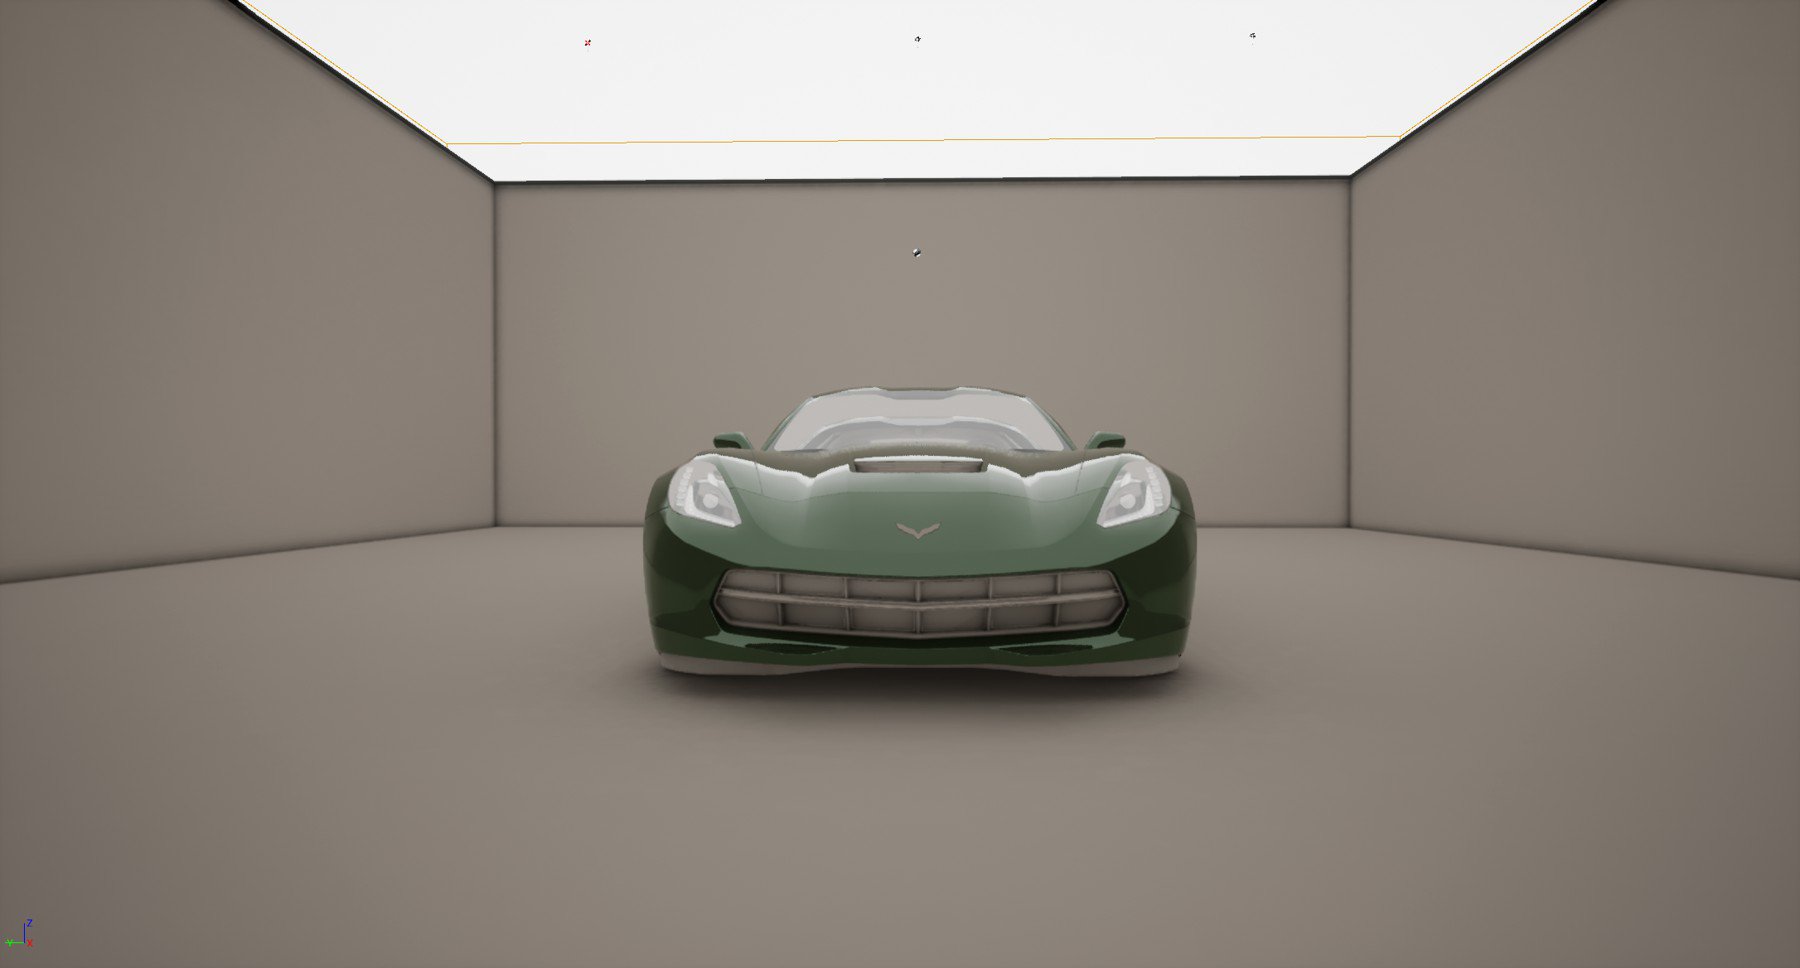
While not quite at the same production scale as Industrial Light & Magic (ILM), these ALA students quickly developed scenes in Unreal Engine. They worked with us to feed the motions and rotations of their real camera in the Data Arena to a virtual camera in the digital scene via our Motion Capture system. Their experiments are simple prototypes to understand how viable this sort of production environment might be for future projects. We were excited to have our first Virtual Production tests up and running within an hour.


15 Jul 2021 18:07

Unreal Engine 4 Shader Exploration

Shader on-off example
Material Shader UV-flip Blueprint

These are some first steps in experimenting with using a UE4 material shader, and the 'custom node' to insert HLSL shader code.

The material Blueprint is configured to act as a post-process, and in the test is connected in the scene to a 'post-processing' volume. Moving in and out of the volume enables and disables the shader.

The HLSL code is entered in the 'code' section of the material's custom node, which flips the y value of the incoming UV values depending upon its value:

	float2 uvAdjusted = UV;
	if (UV.y < 0.5) uvAdjusted.y = (1.0-UV.y);
	return uvAdjusted;
Shader material post-process setting
Shader material custom node UV-flip HLSL
Shader output Texture2DSample
Blueprint using HLSL Texture2DSample of external texture

Now, moving to using the HLSL to sample the alpha channel of an external texture.

This uses Texture2DSample, and where the source texture is transparent, the pixels are not Y-flipped:

	float2 uvAdjusted = UV;
	float4 TexColour = Texture2DSample(Mask, MaskSampler, UV);
	if (TexColour.a < 0.5) return UV;

	uvAdjusted.y = (1.0-UV.y);
	return uvAdjusted;

Direct SceneTexture Access

This time, instead of altering the UV data going into the PostProcess SceneTexture, this code accesses the data internally. It then also outputs the result directly. (Note: The custom node's connection to the SceneTexture is only needed in order to provide access to its functions)

Scene Texture direct access and Material Parameters

MyTestOffset Custom Node

The primary HLSL node now has 3 inputs:

  • SceneTexPPI0 - connection to a SceneTexture:PostProcess0 node
  • Enabled - connection to the 'EnableShader' Material Property
  • EnableGrid - connection to the 'EnableGrid' Material Property

The two 'Material Property' connections respond to the values contained in a 'Material Parameter Collection' object added to the Content Browser. This in turn has its values set by the inputs in the main Level Blueprint's Event Graph, allowing the shader and overlay grid to be toggled on and off.

Main Custom Node code:

	if (!Enabled)
		return SceneTexPPI0;   

	// Obtain the pixel's UV directly from the PostProcess0 scene texture (index 14)
	float2 uvDirect = GetDefaultSceneTextureUV(Parameters, 14);

	// Get the pixel colours from the framebuffer at the original UV pos
	float4 TexColourDirect = SceneTextureLookup(uvDirect, 14, false);

	// Grid overlay
	if (EnableGrid)
	{
		bool bGridX = (fmod(uvDirect.x, 0.1) < 0.0015);
		bool bGridY = (fmod(uvDirect.y, 0.1) < 0.0015);
		if (bGridX || bGridY)
			return 1-TexColourDirect;
	}

	// Check the external mask alpha
	float4 MaskColour = Texture2DSample(Mask, MaskSampler, uvDirect);
	if (MaskColour.a < 0.1)
		return TexColourDirect;

	// Add an x-offset (wrapped) to the incoming UV co-ord, and get the colour at that location
	float2 newUV = uvDirect + float2(0.1, 0.0);
	newUV = frac(newUV);
	float4 NewColour = SceneTextureLookup(newUV, 14, false);

	// Return the offset colour
	return NewColour;

Material Parameter Collection

This object is added in the content browser (appearing as the icon shown) , and provides a method of accessing variables within a material. Clicking on it allows you to edit its details, and add new variables that can then be used as required.

In this instance, the parameters are controlled using keypresses via the main 'Level Blueprint'.

Material Parameter Collection object details and Content Browser icon
Level Blueprint - controlling Material Parameter values
Material output compare node

Switching and Comparing Material Outputs

An additional HLSL custom node has been added between the main node's output, and the Material's final Emissive input.

The node takes 3 inputs:

  • uvRAW - the unmodified colour output
  • uvMod - the modified colour output
  • EnableColourDiff - connection to the 'EnableColourDiff' Material Property

Pressing the 'C' key causes the node to toggle its comparison of the two colour outputs. When enabled, pixels with the same colour are dimmed out by 50%, differences are colour coded red (original) and green (changed), and then shown as a blend of the two.

Comparison Custom Node code:

	if (!EnableColourDiff)
		return uvMod;

	// If the original and modified pixel are the same, then dim it out
	if (all(uvRaw == uvMod))
		return uvRaw * float4(0.5, 0.5, 0.5, 1.0);

	// Mask the colour: Orig=Red, New=Green
	float4 TexColourRaw = uvRaw * float4(1.0, 0.5, 0.5, 1.0); // Dim down all except red channel
	float4 TexColourMod = uvMod * float4(0.5, 1.0, 0.5, 1.0); // Dim down all except green channel

	// Return a blend of the masked-original and the modified pixel
	return lerp(TexColourRaw, TexColourMod, 0.5);

The final outputs here show the shader with the grid enabled, as well as the output from the separate node which compares the raw and modified outputs.

SceneTexture direct access and comparison nodes

5 Feb 2021 17:02

Jump in the Driver's Seat

CarShowroom_01

Designing a Car Showroom

It's been a while since we last updated this blog. We've been busy presenting the Cozy Living Room to some esteemed visitors, and working on a few new things such as this little project. We decided late last year that we wanted to see a car in the Data Arena. For such a ubiquitous object in the world of 3D graphics, how good could we make one look? Well after trying a few free car assets (thanks CG Trader, TurboSquid and others), we settled on this extremely well built Chevrolet Corvette (C7) Stingray.

There are no "moving" parts in this project, so all lighting could be built with static assets. This demands more resources to being the project as lighting is calculated and baked into the scene, but afterwards allows projects to run butter-smooth in realtime as no further lighting calculations are required.

Like all projects, it began as a rocky start as we re-visited some lighting fundamentals and made a few mistakes, but it really came together in the end. There are no additional lights in this scene besides a single Skylight actor which captures the natural white light output of the skybox and generates beautiful soft shadows throughout the scene.

The model

The model itself took some work to get looking this good, as it imported as geometry only: all materials were automatically created by Unreal Engine with default material settings that made the car look more or like a clay prototype. From there we manually created each mesh material: all glass, chrome, paint, leather and lights. We decided to take the project one step further and introduce some minor interactivity. Using the SpaceNavigator to fly around the scene and explore the car, a hold of the left SpaceNav button lets users change the colour of the exterior paint and interior detailing in real-time. Using 3 axis of the input device, users can adjust hue, saturation and brightness.

The right button turns the cars brake and headlights on and off, just for kicks.

CarShowroom_process_01
CarShowroom_process_02
CarShowroom_process_03
CarShowroom_process_04
CarShowroom_process_05

Resolved scene lighting

A few shots from our final lighting calculation and bakes using a single Skylight actor.

CarShowroom_process_14
CarShowroom_process_08
CarShowroom_process_09
CarShowroom_process_14
CarShowroom_process_13
CarShowroom_process_12
CarShowroom_process16
CarShowroom_process_07

Pages
1234567